Luthiery Log - 02/2019
I’m building a guitar, and logging the progress on the 7th of each month. Here is Month: One.
It was strange looking back on the accomplishments of the first month. So strange I went googling for quotes about progress. Most were about social progress, but this one stuck out.
True progress quietly and persistently moves along without notice.
- St. Francis of Assisi
I’m tempted to put ‘ - Michael Scott’ below. The point is: January started with a decision, and ended with the Face, Back, Sides, Neck, and Fretboard all in recogniseable states. A lot happened, but i never felt like I was doing a lot. Part of the beauty of this course, outlined in part one, is the method Trevor uses. He doesn’t weigh you down with a seemingly endless laundry list of absolutely everything that needs to be done this in every session, including after care instructions. It’s only ever “Let’s focus on doing this job right" and when that job is complete, “Here’s what’s next”. You’ll rarely start a process you can’t finish in the time you’ve booked, which means every night has visible, measureable progress. It’s a great experience.
Session Five
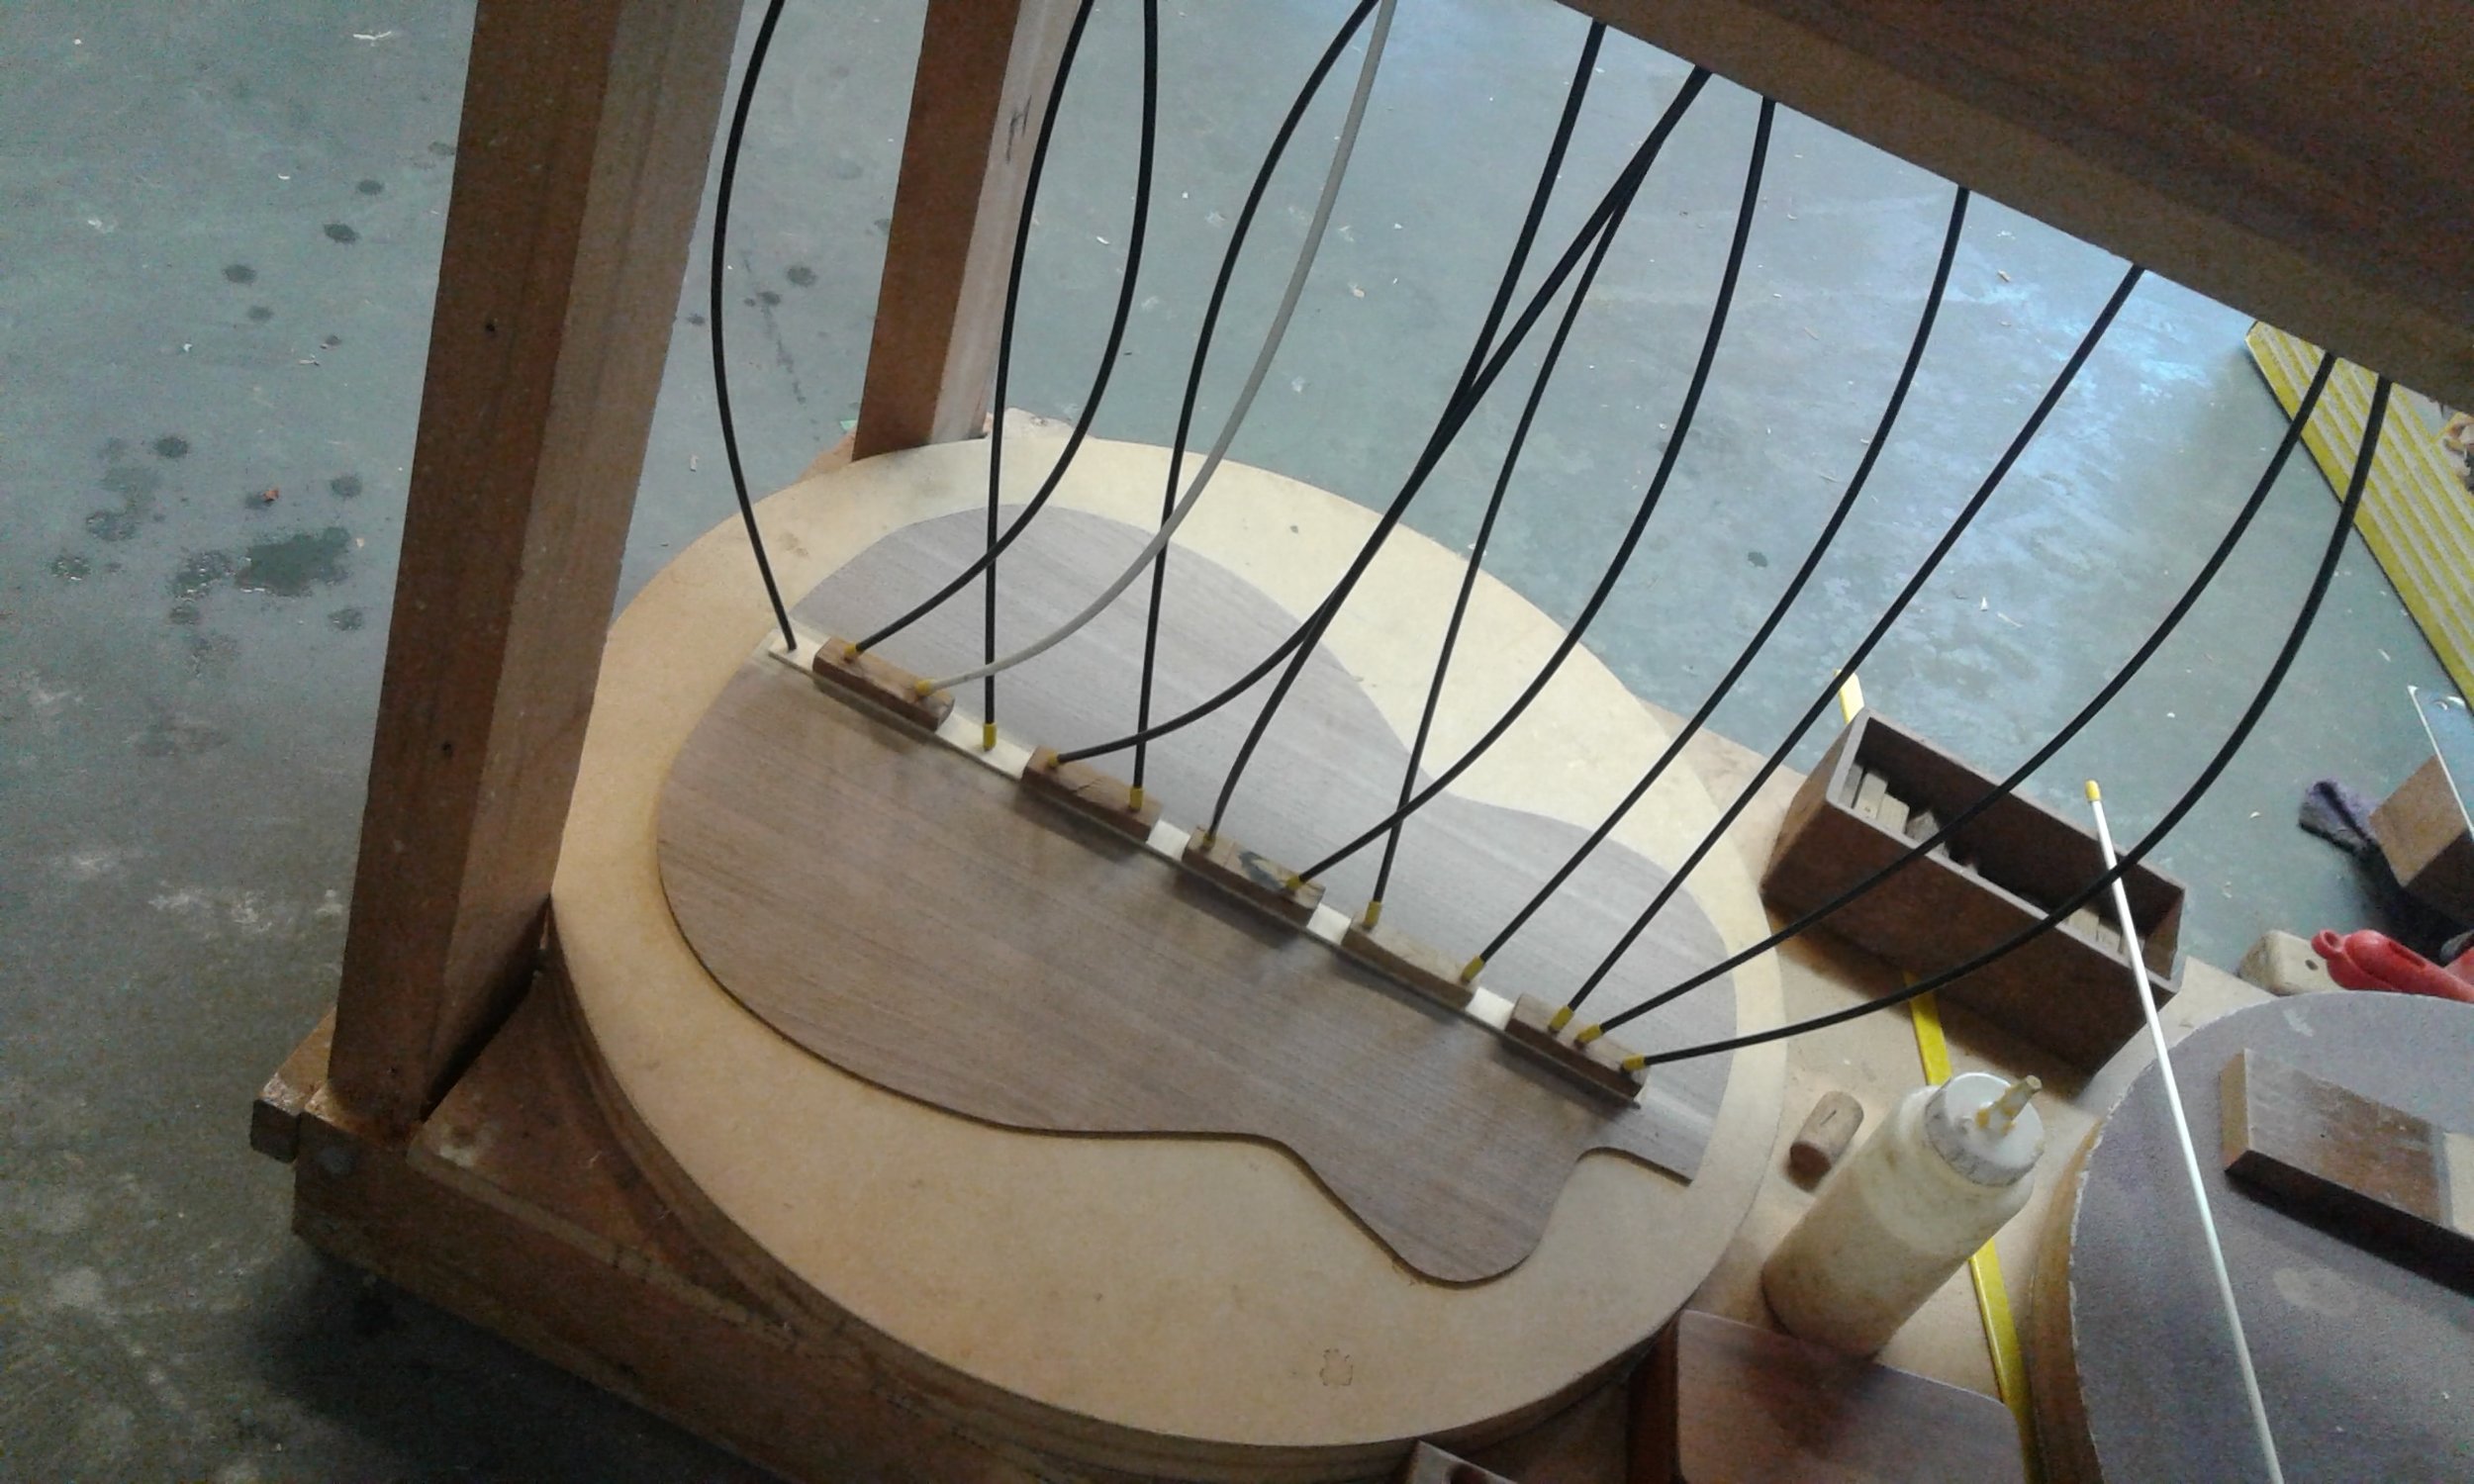
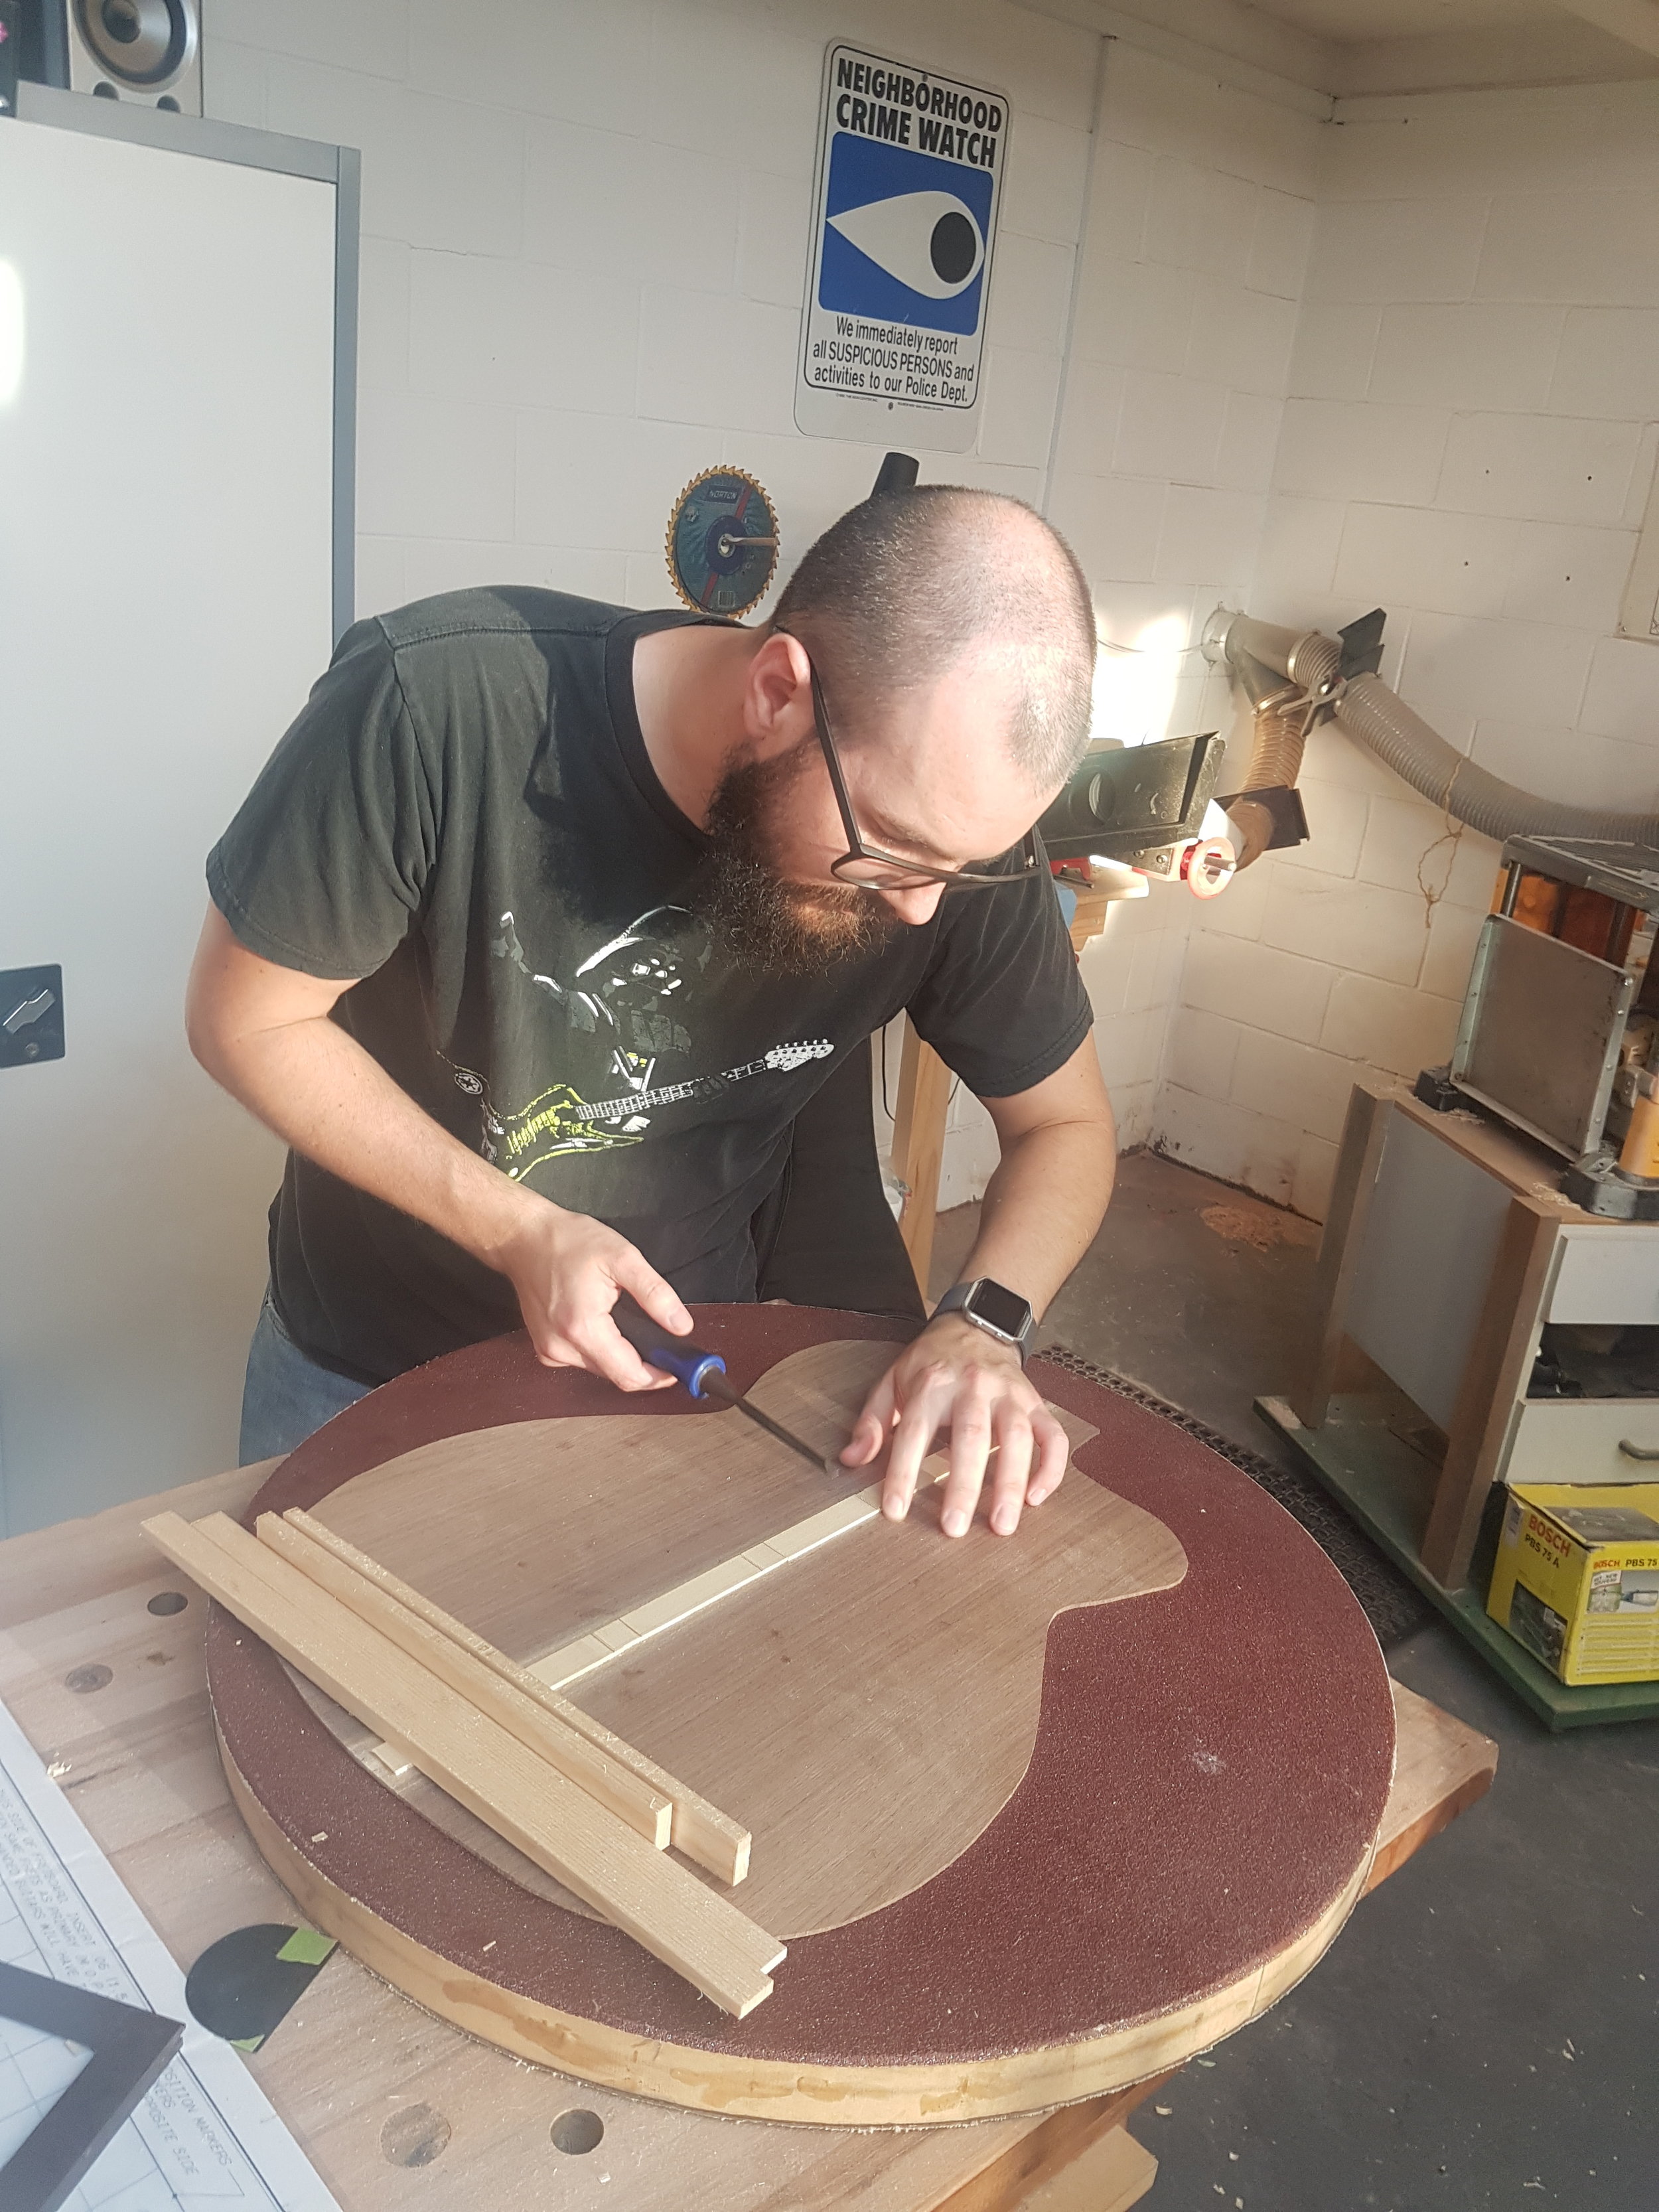
First step is to cut to size some small wood strips, these will become the internal central brace and will strengthen the Back. Once to size, we flex metal rods to hold tension between the underside of the workbench and strips, which are glued ablong the back joint. It' doesn’t take long, and in the meantime Trevor sets a gas torch to heating a metal pipe. I’m mildly worried. But what follows is the coolest part of the process thus far: Side Bending.
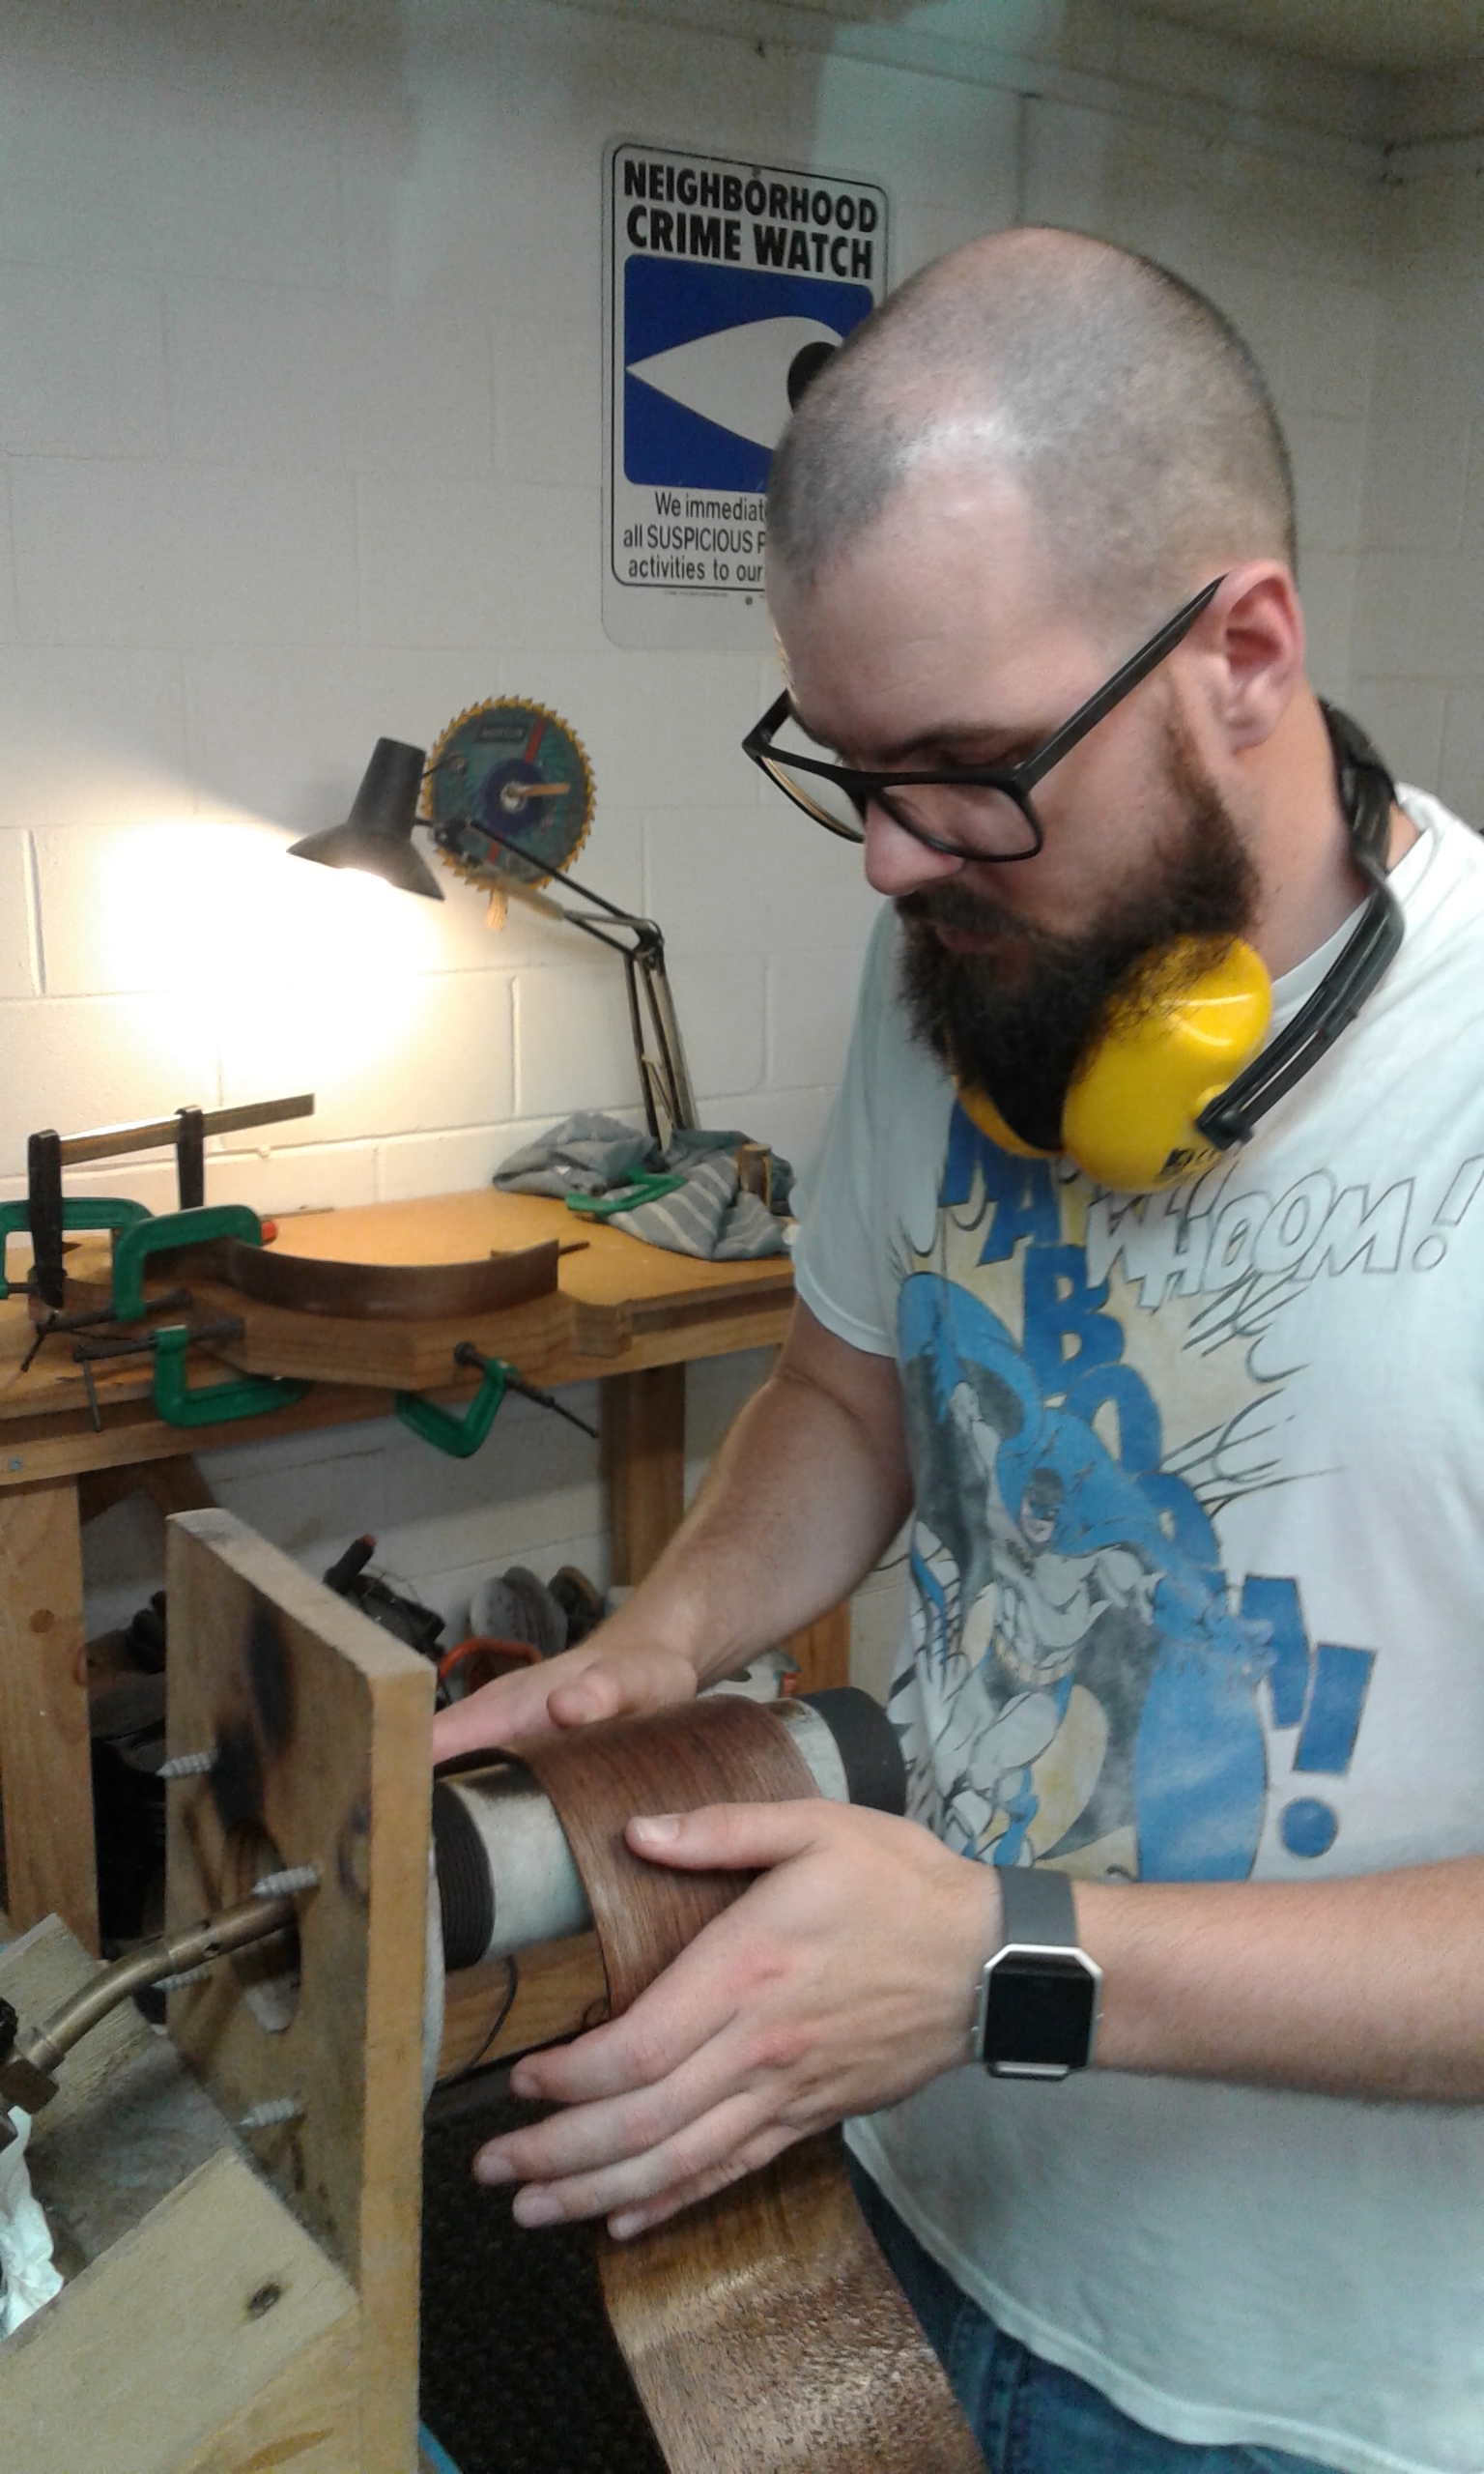
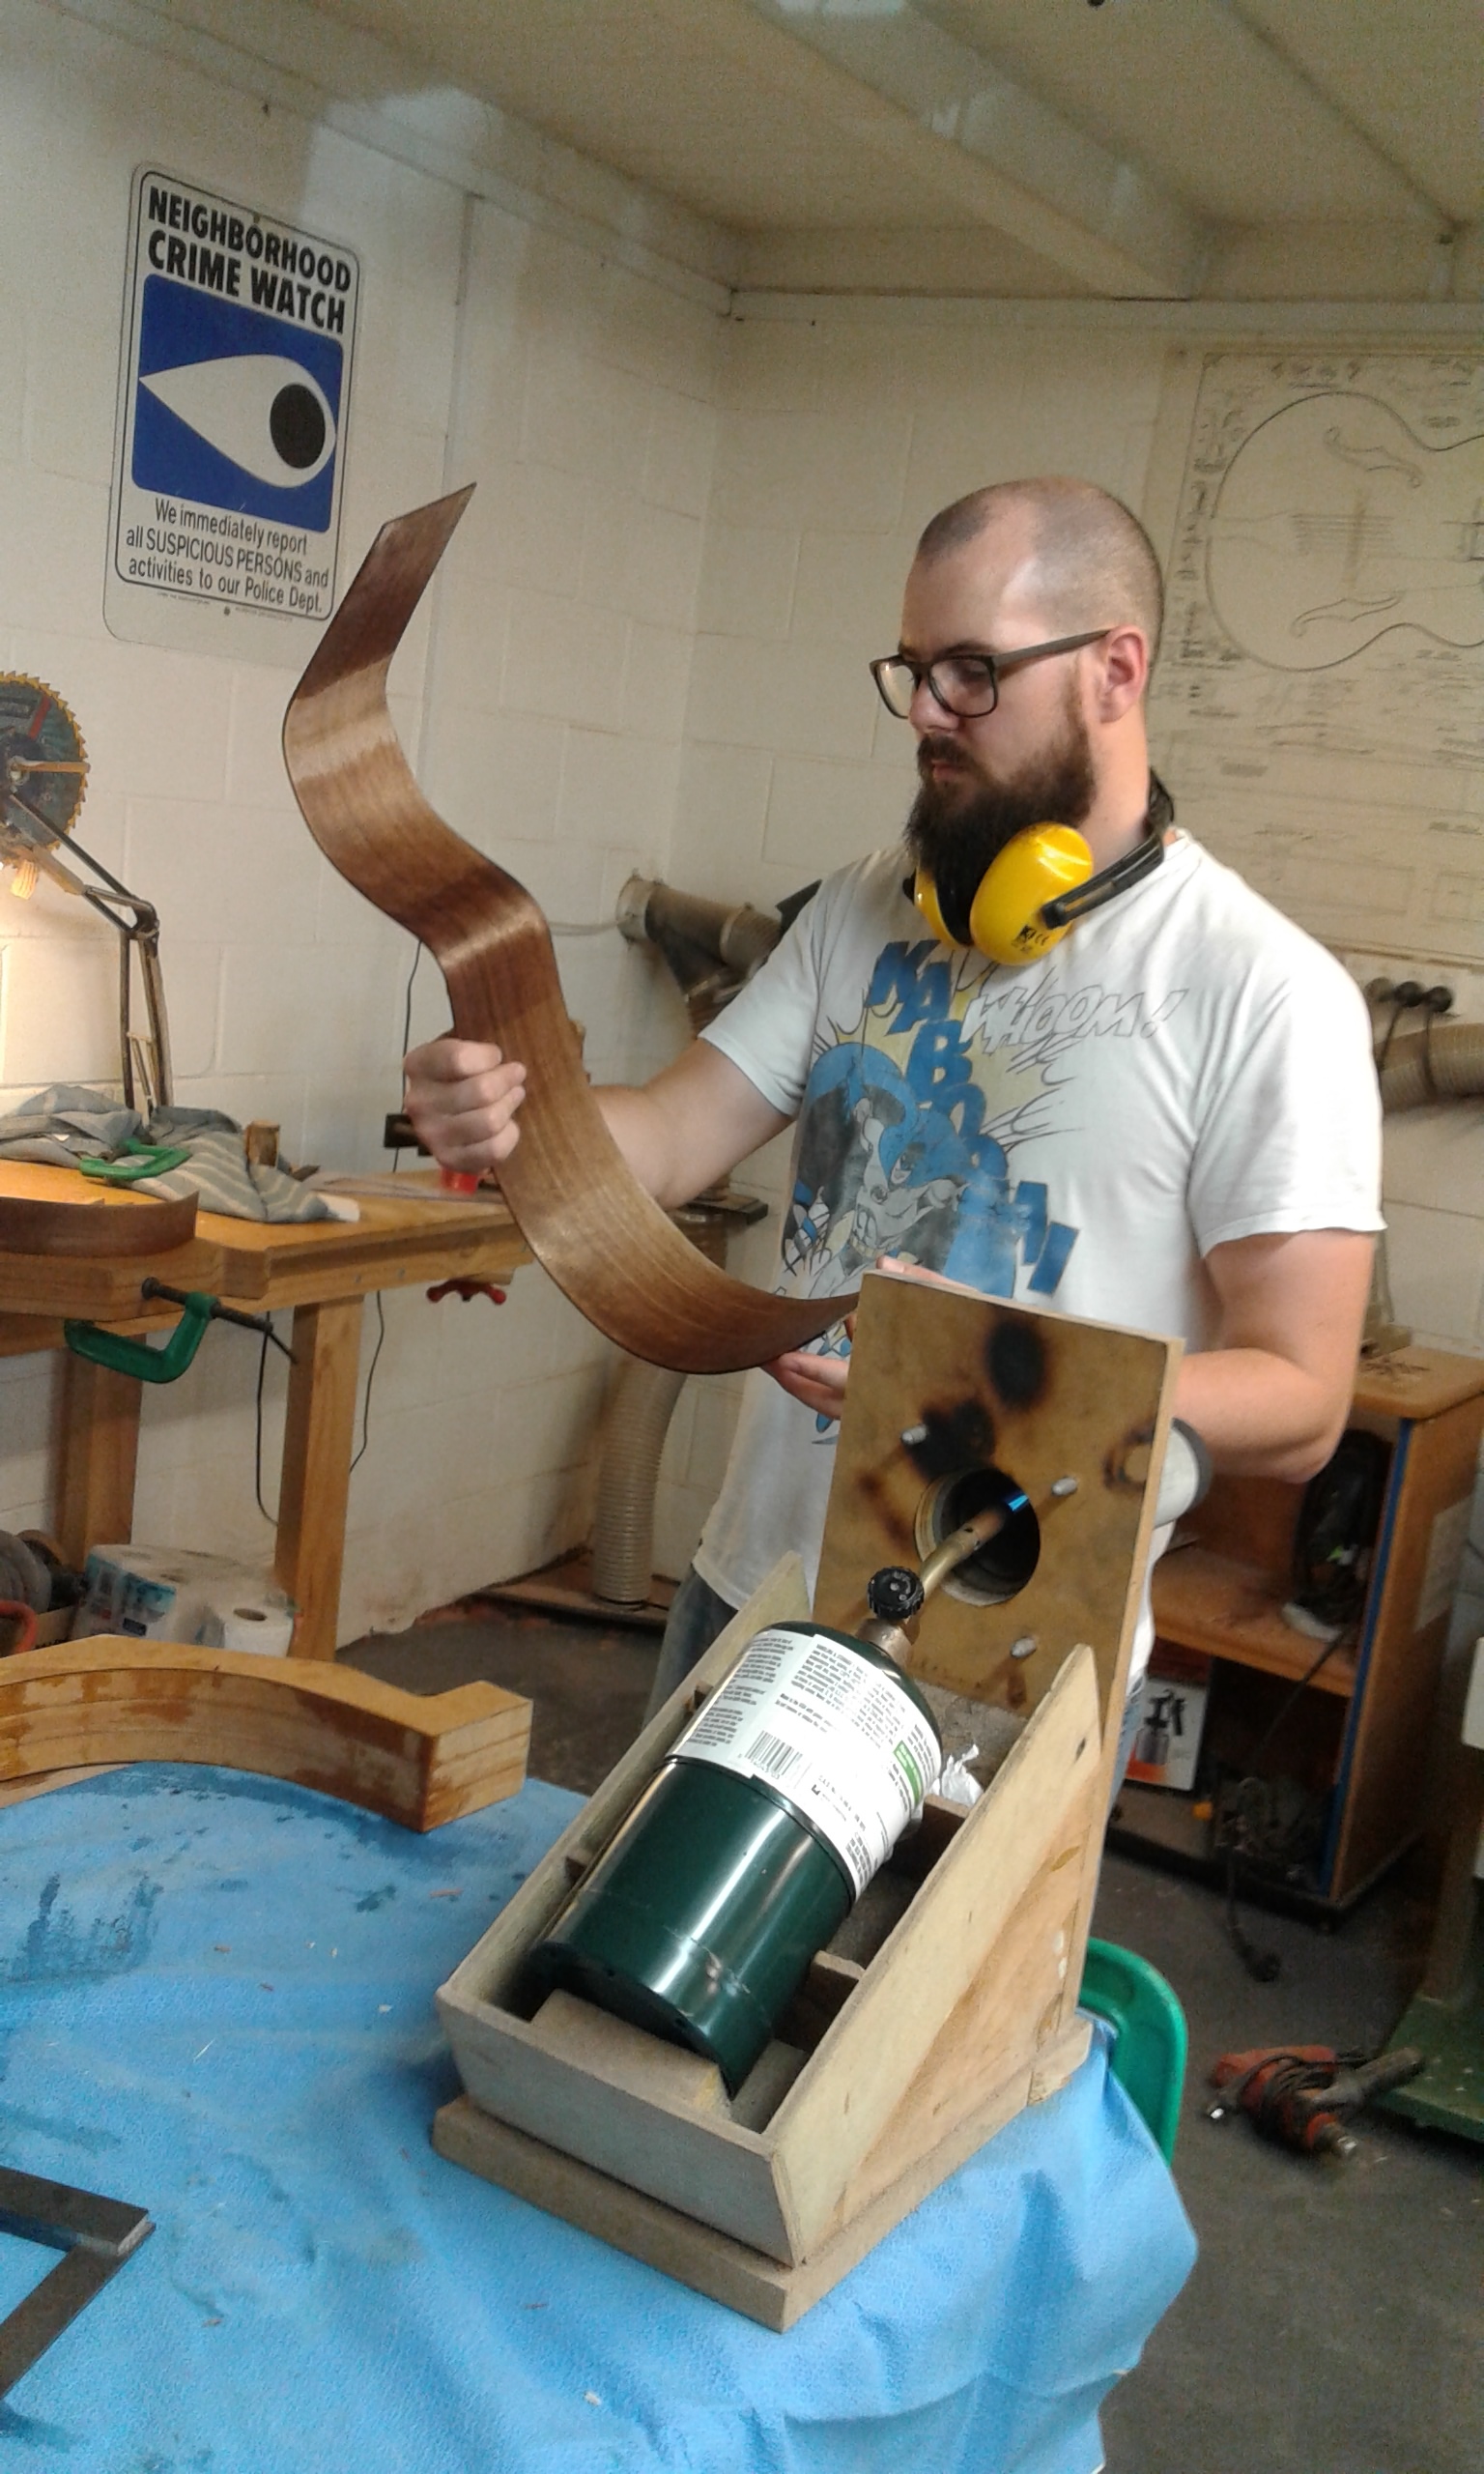
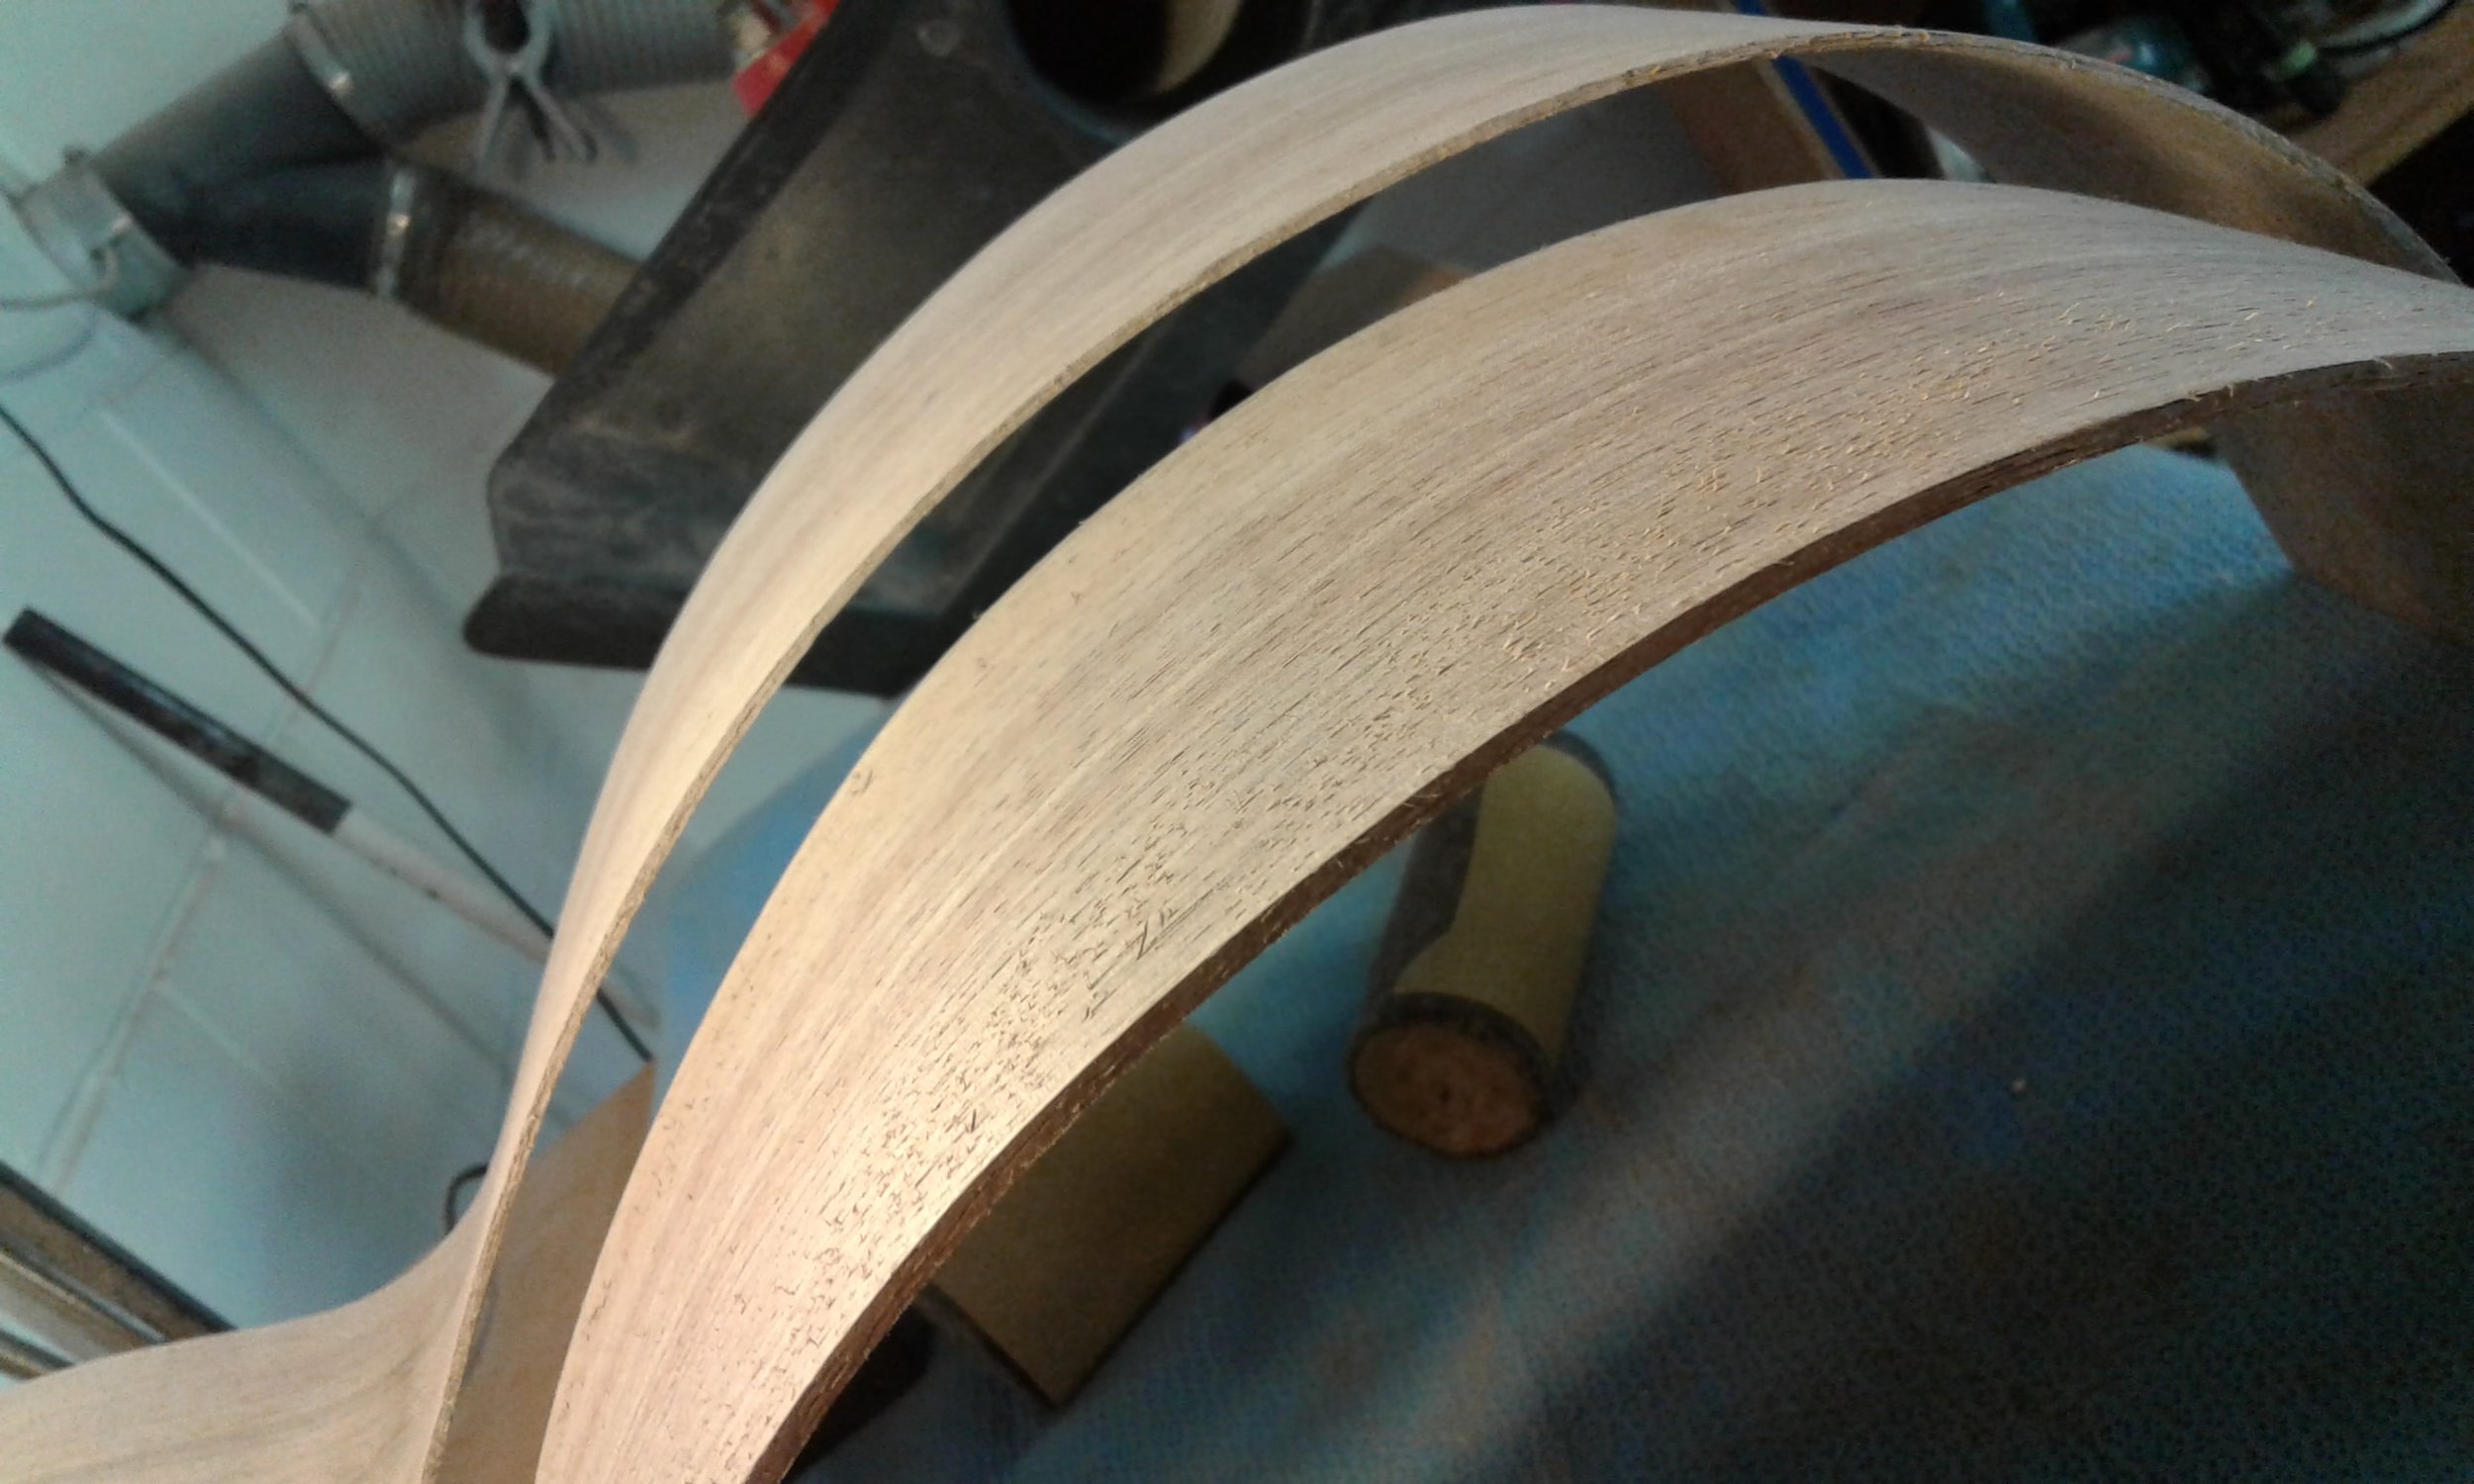
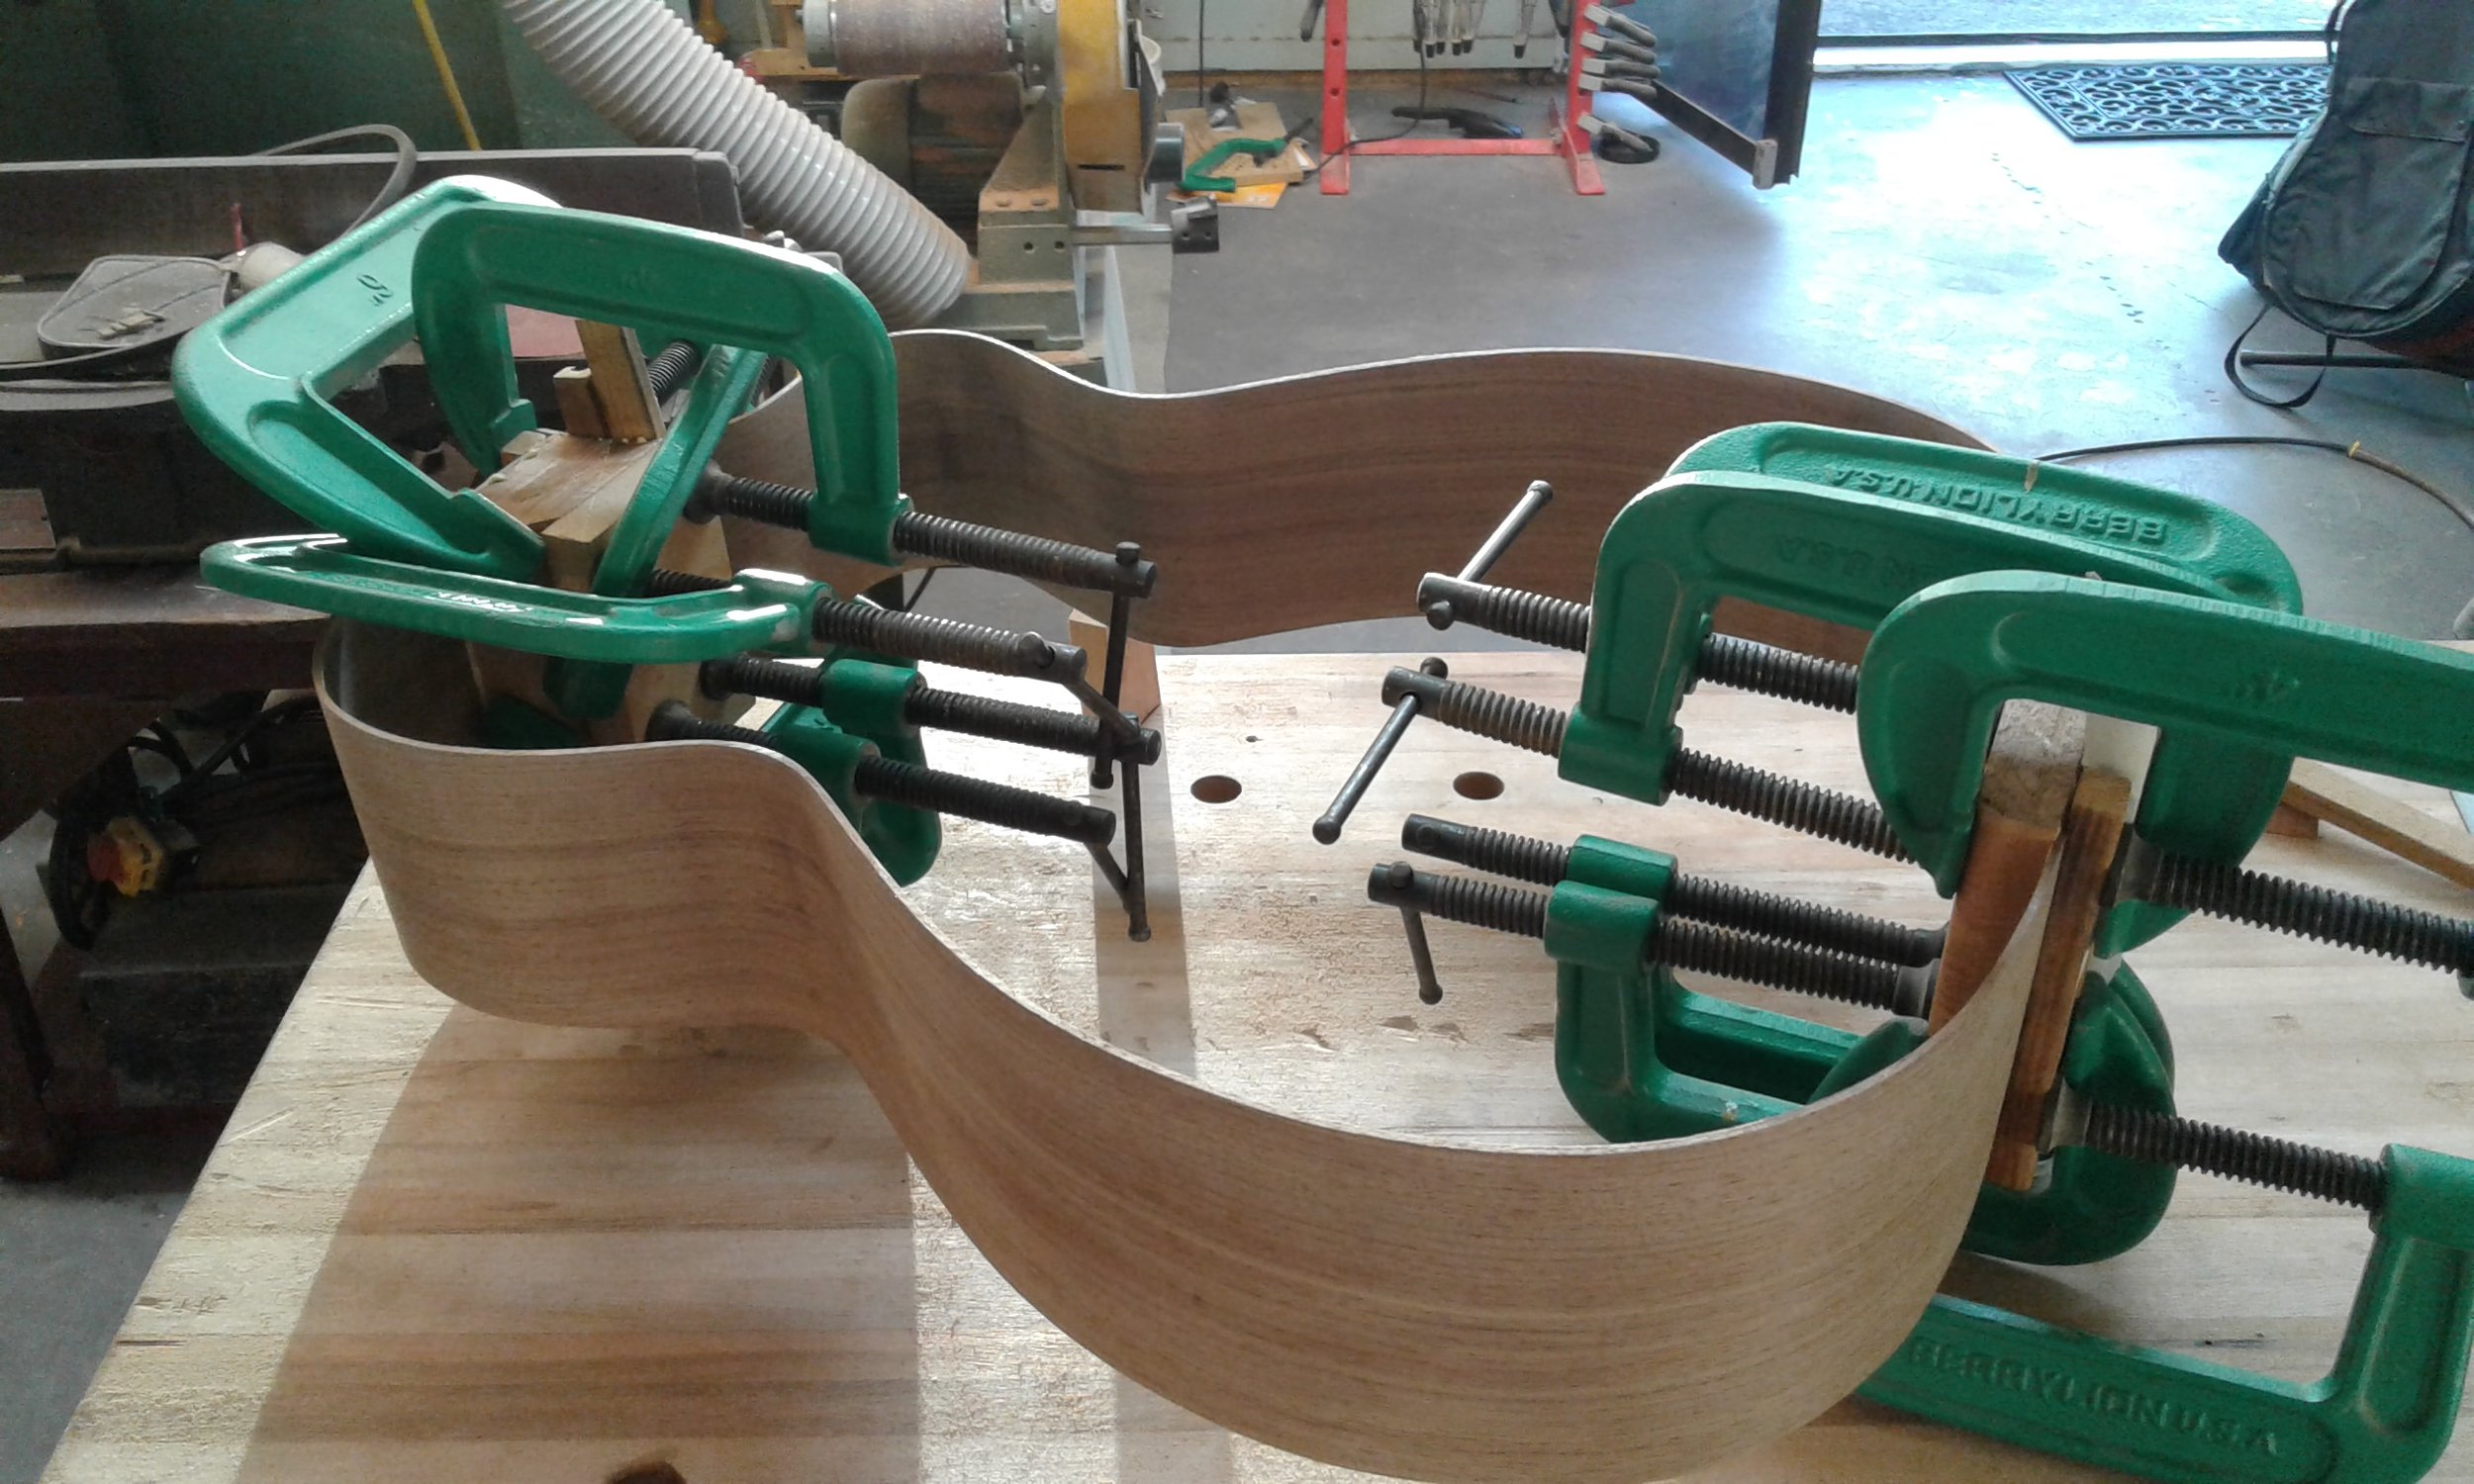
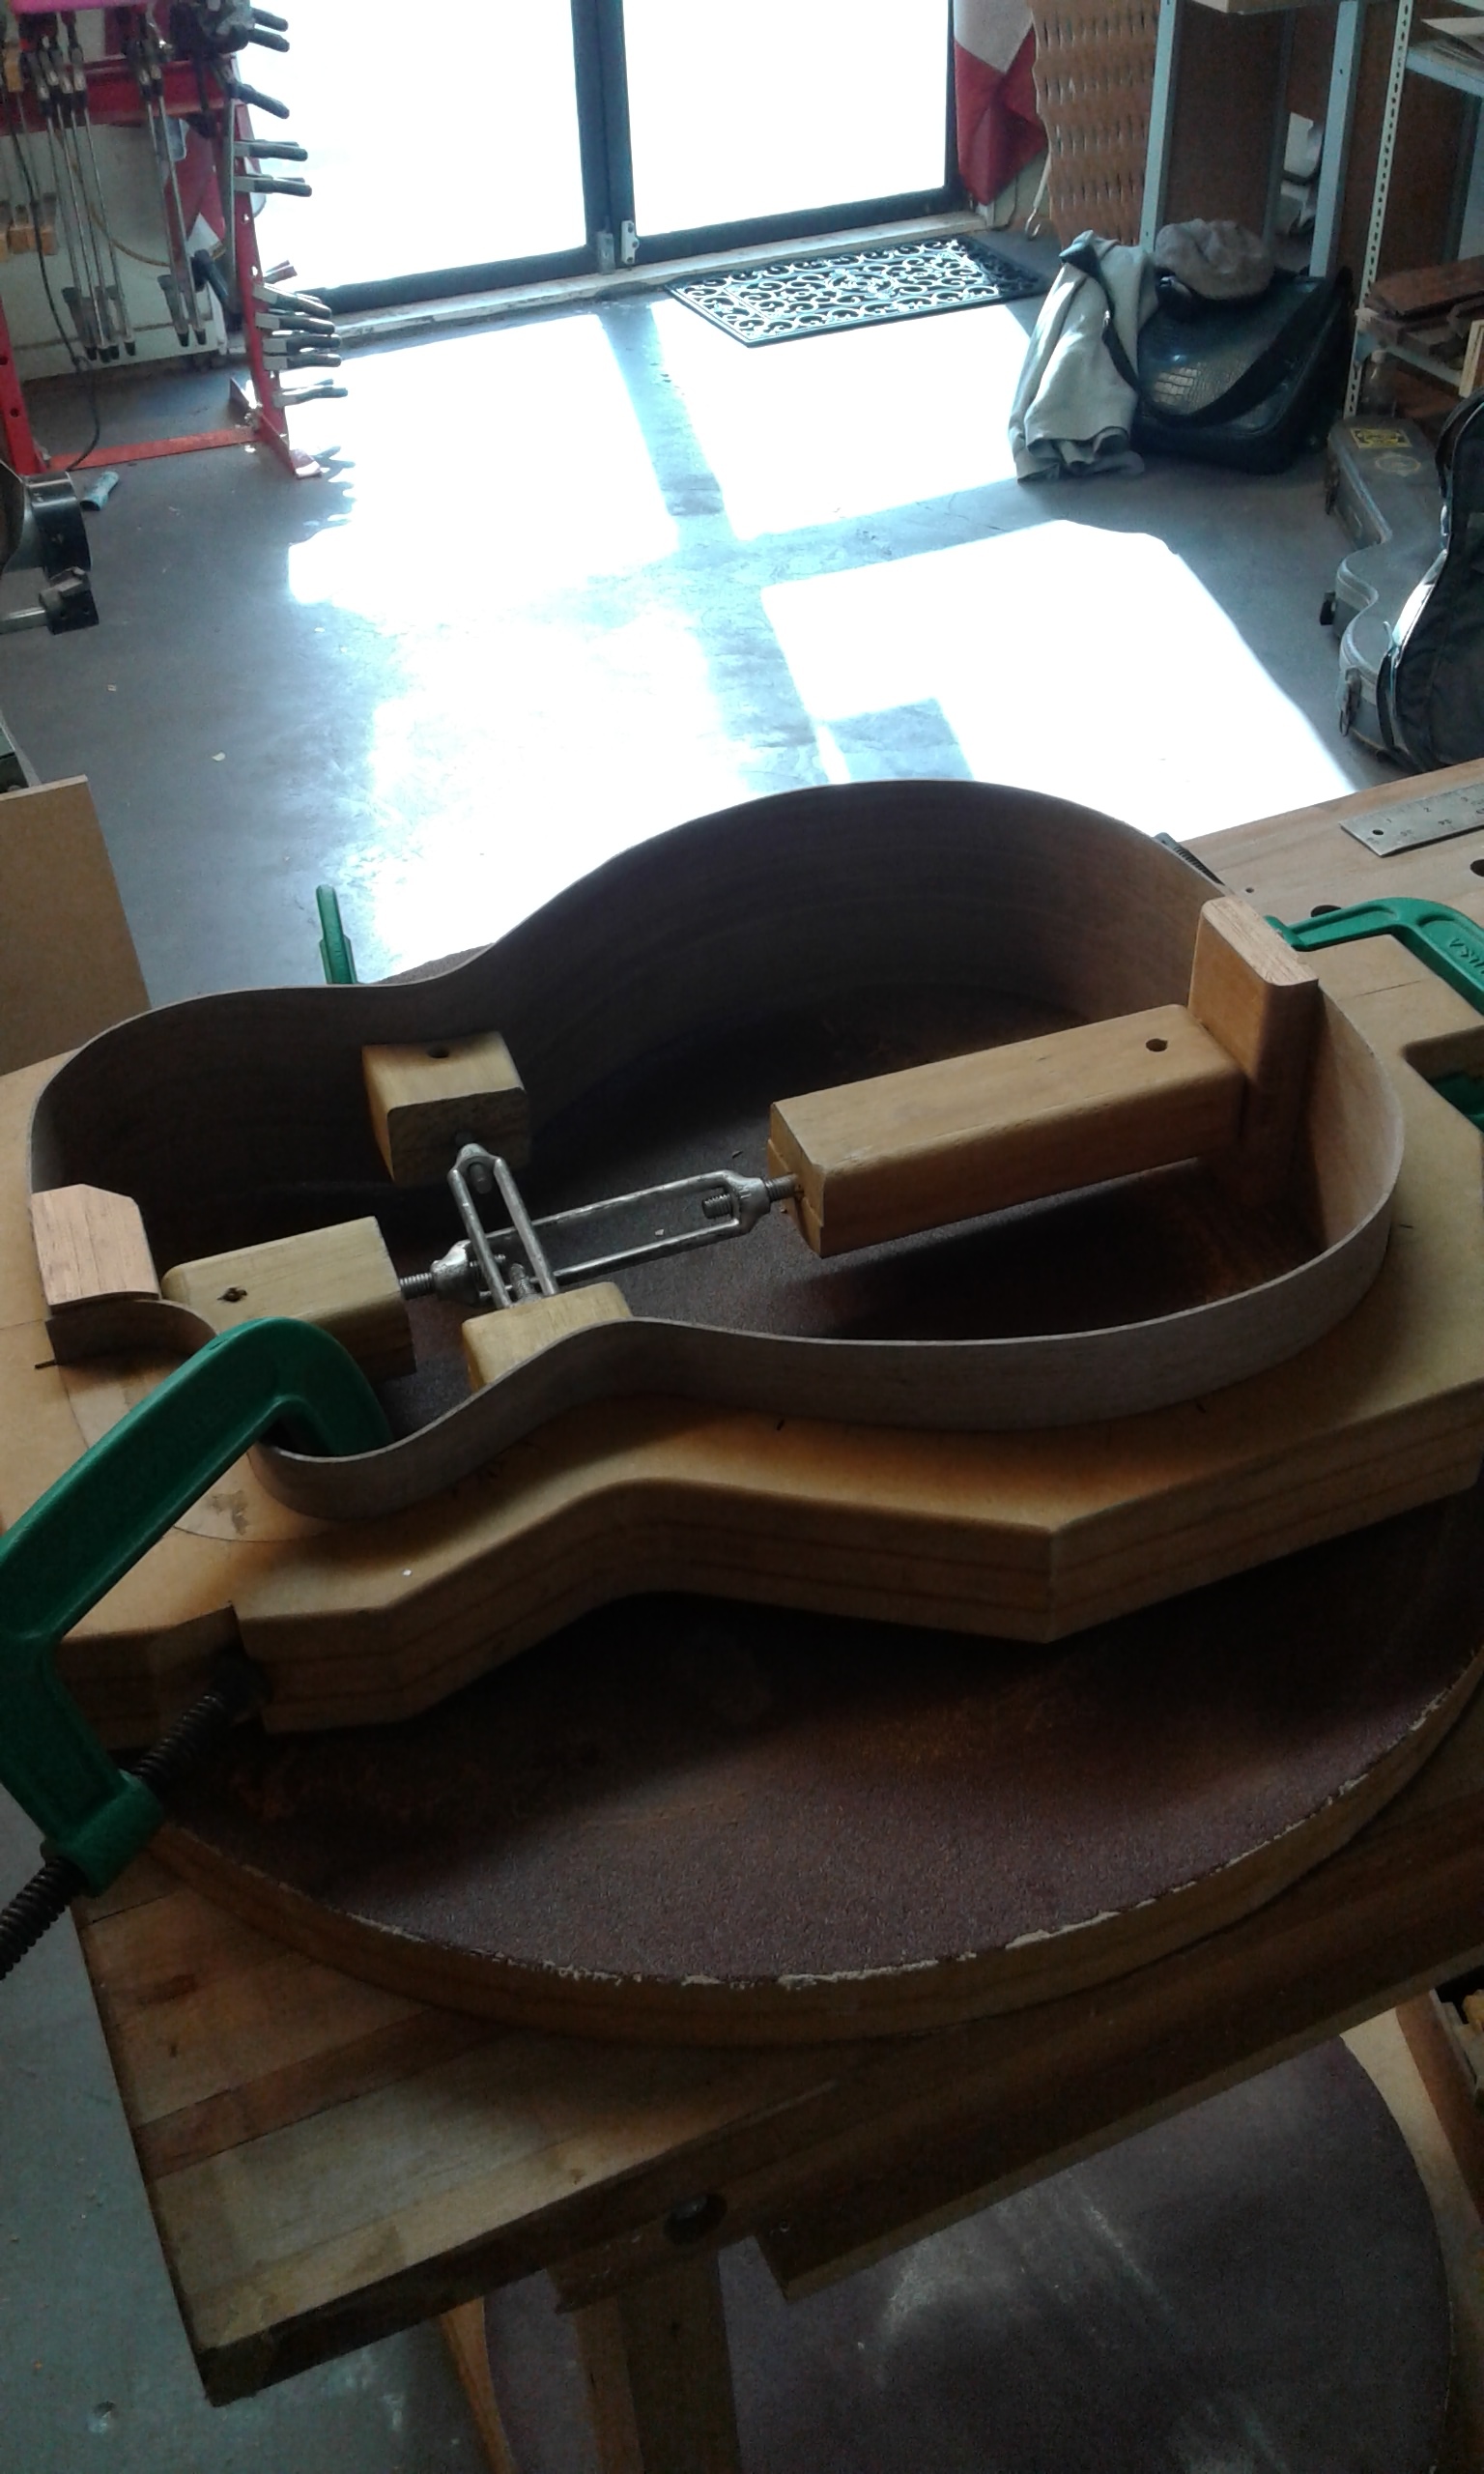
The Sides are sprayed with water until soaked, then laid on the heated pipe. As the water evaporates from the wood, the fibres loosen, and you press down on both sides of the pipe to create the curves that form the body. It’s a slower process, and it takes most of the rest of the night. We’re constantly measuring and comparing the sides to the jig, and once it’s pretty much there, we clamp them together and leave it to dry into shape completely. We quickly route the sides of the neck and I retire, ecstatic with the night’s progress.
Session Six
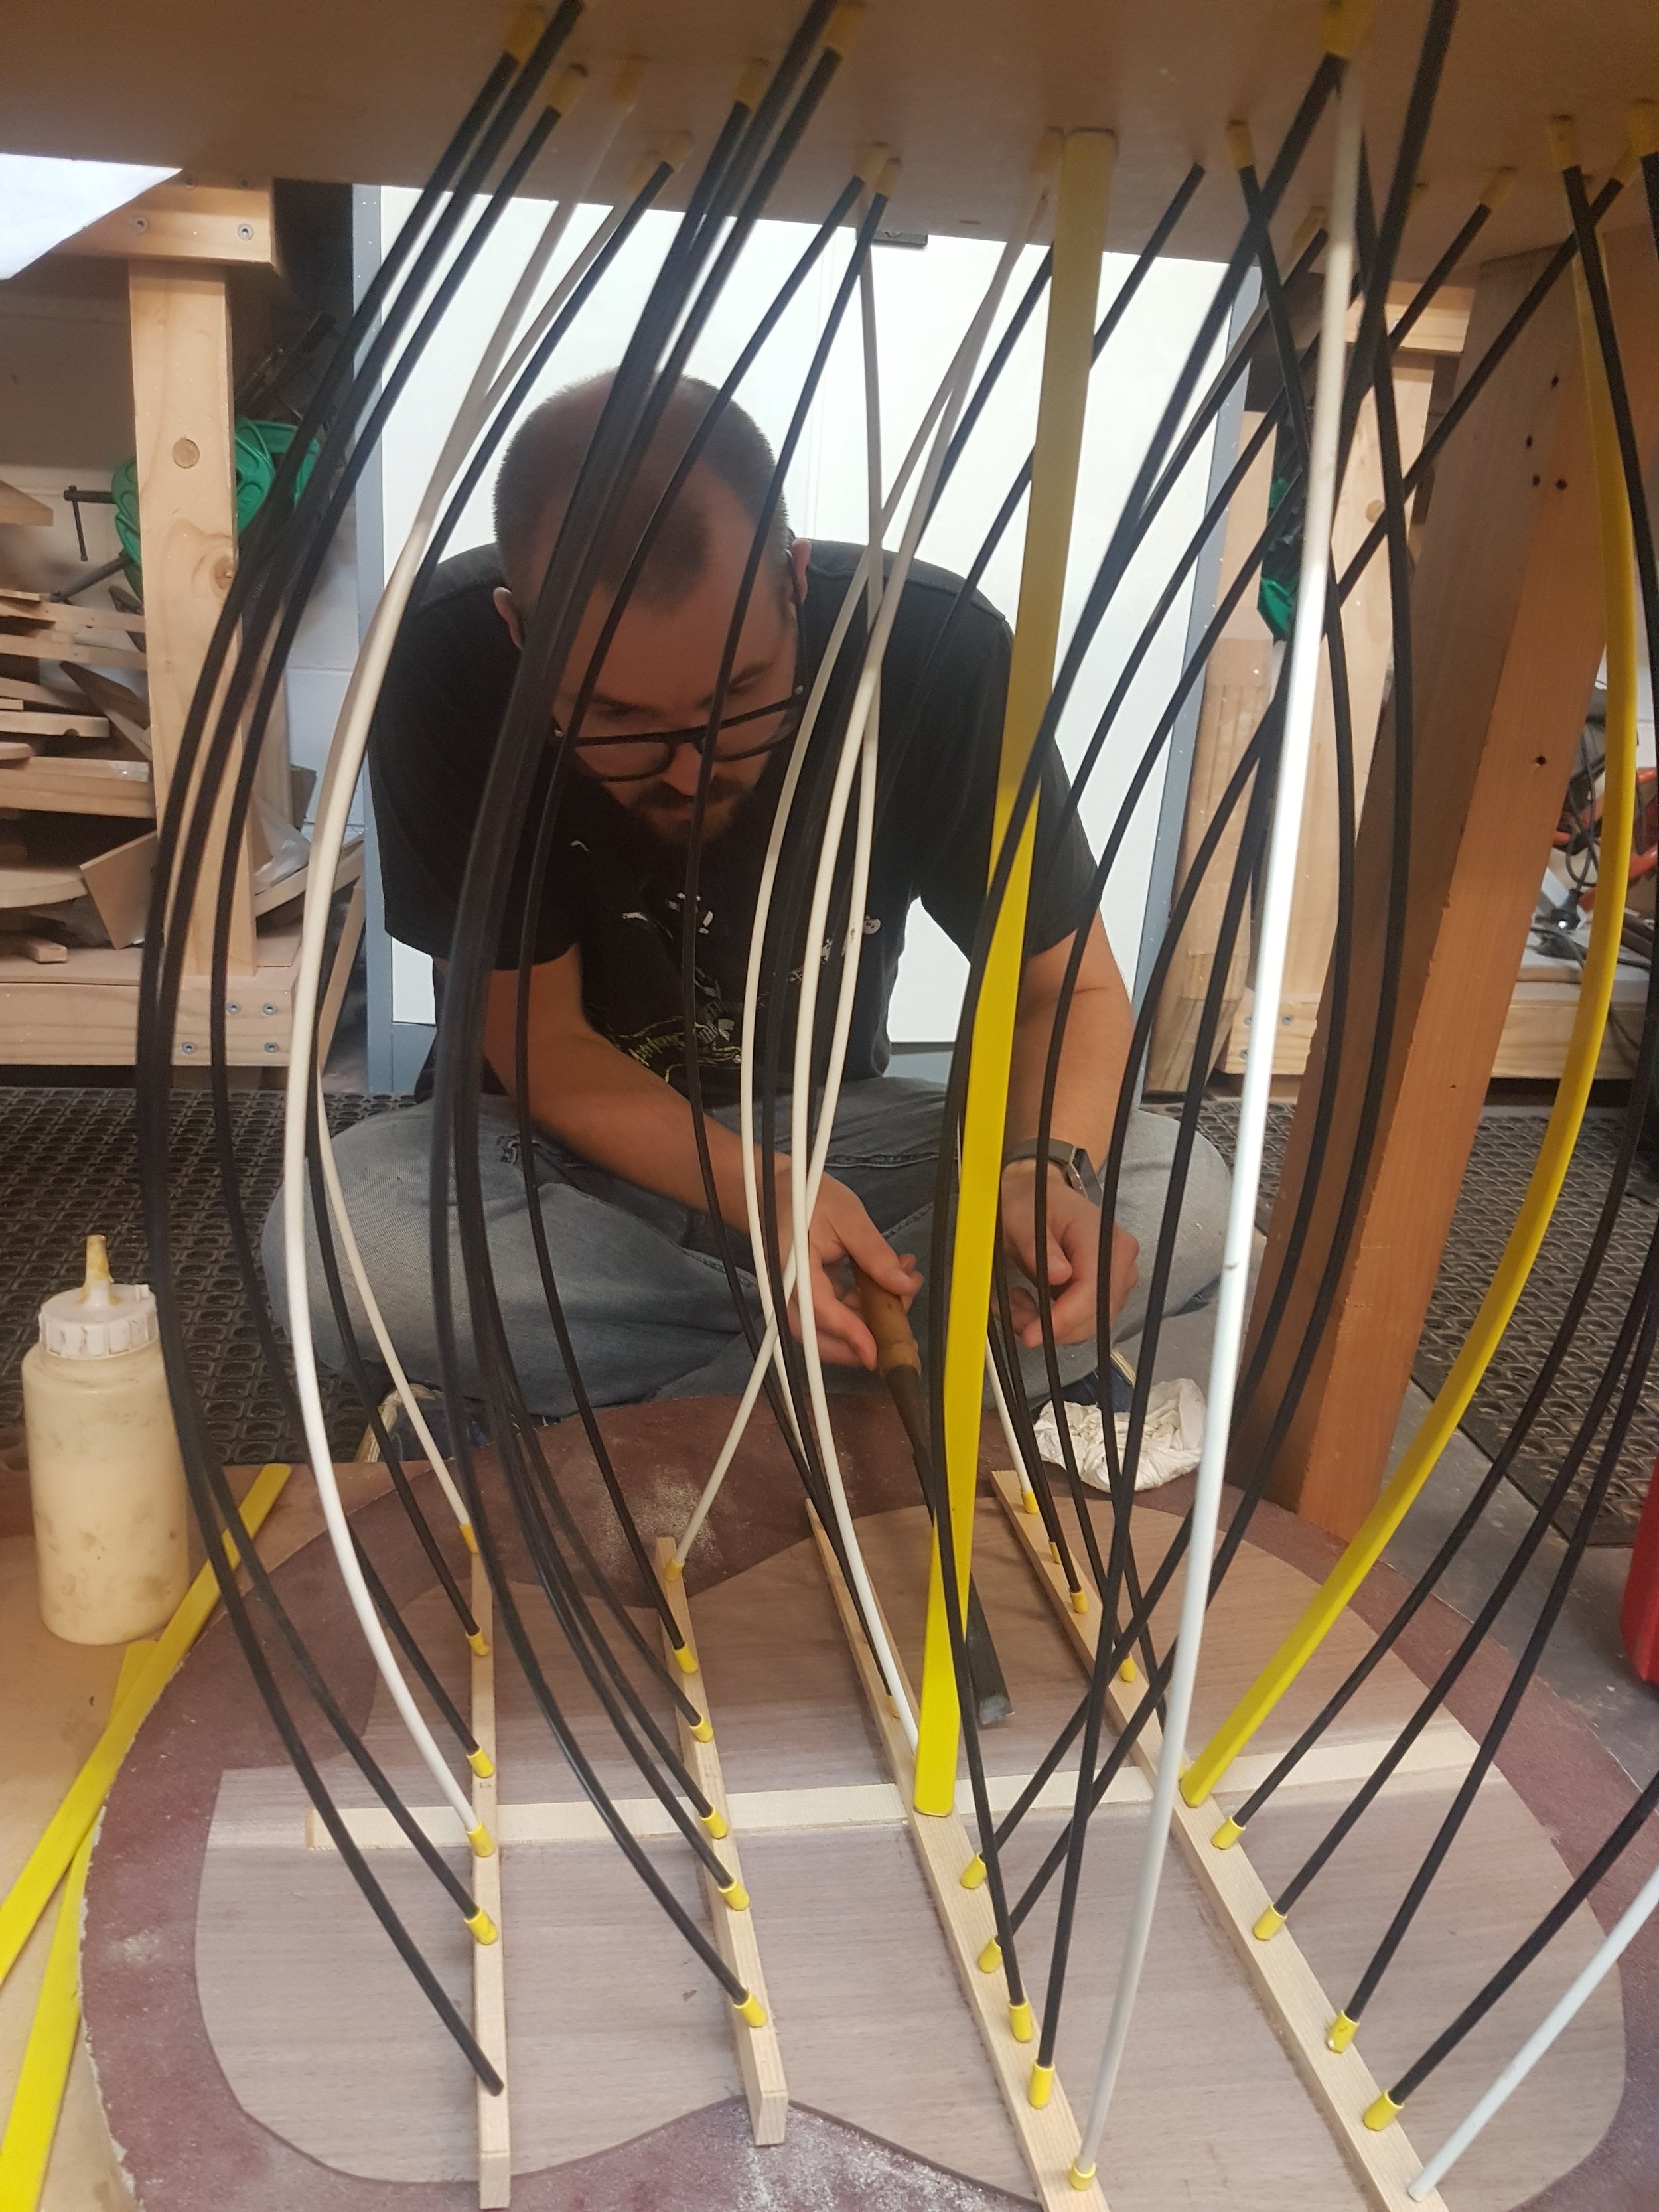
With the Back brace from last week dried, we violently hack into it (with care, diligence and skill) making room for the horizontal braces that will sit perpendicular across the back. There’s a little bit of sizing and measurement, but most of this session is running the pieces across one large slice of sandpaper mounted on a concave dish. This is because the back and front will be slightly ‘dished’ out from the body, instead of perfectly parallel. Trevor assures me it will look normal. This time the flex rods push the Back into that dished shape, as they also apply tension to the glued in horizontal braces. There are a lot more flex rods on this one.
Session Seven
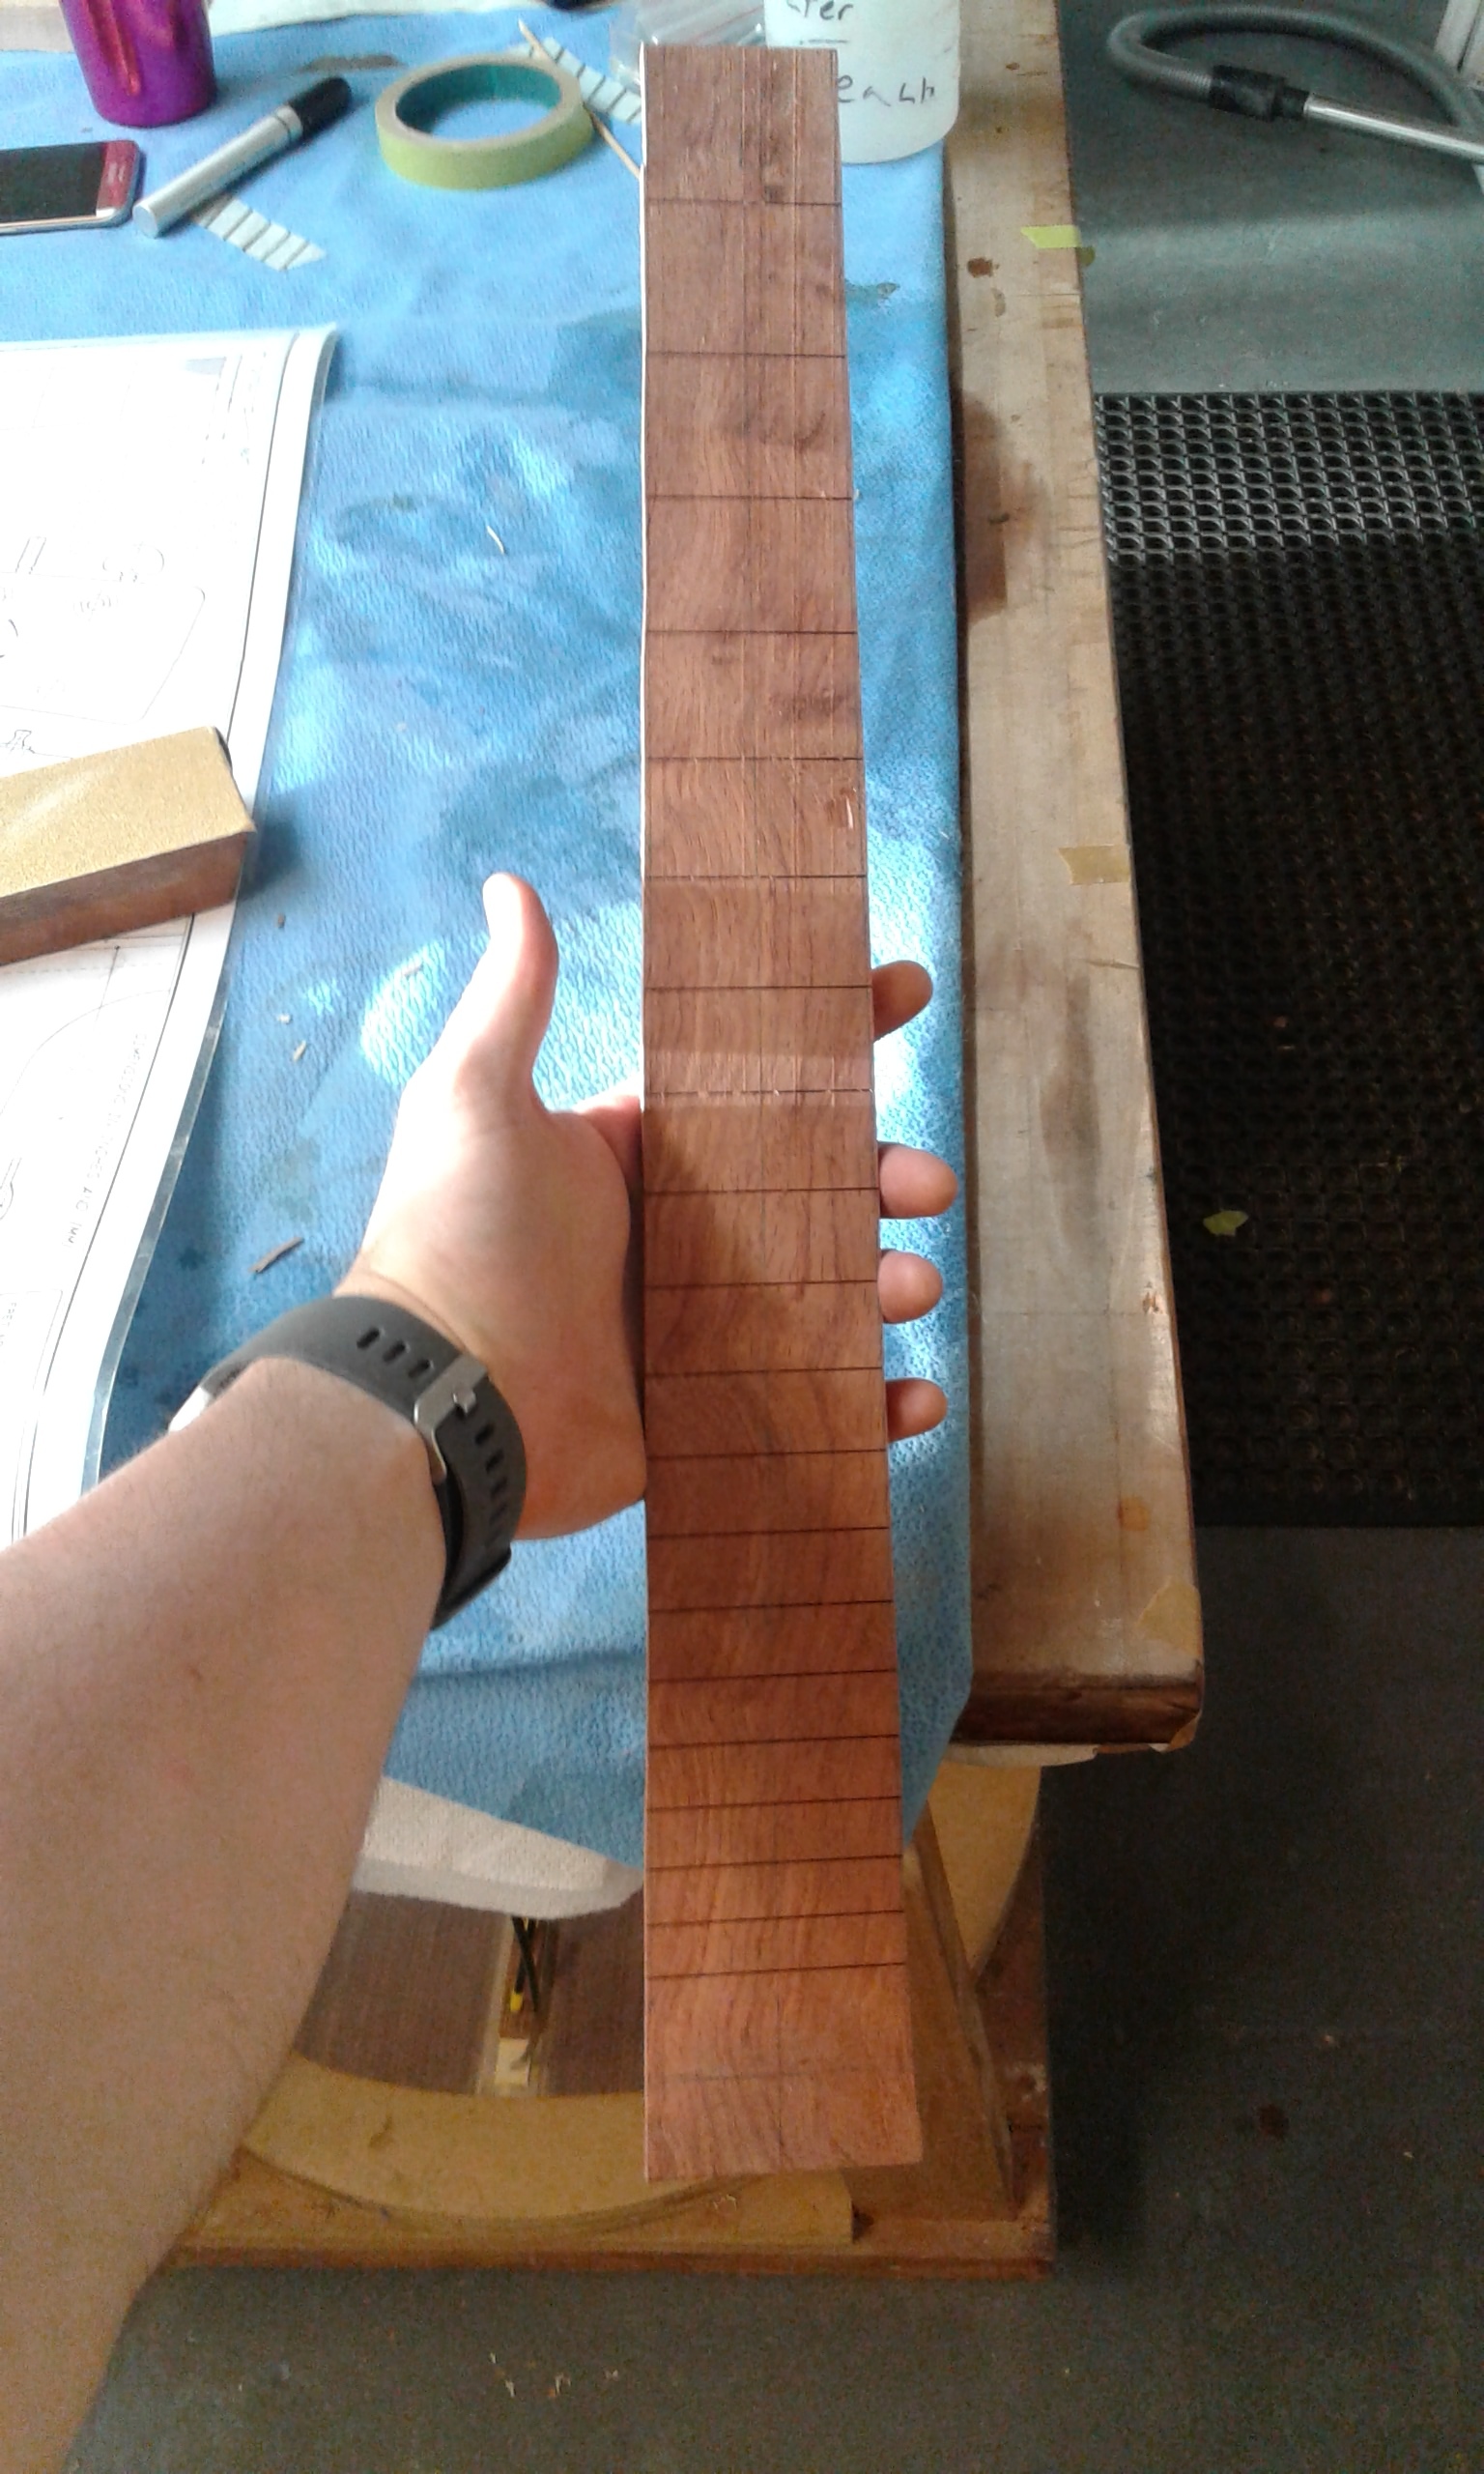
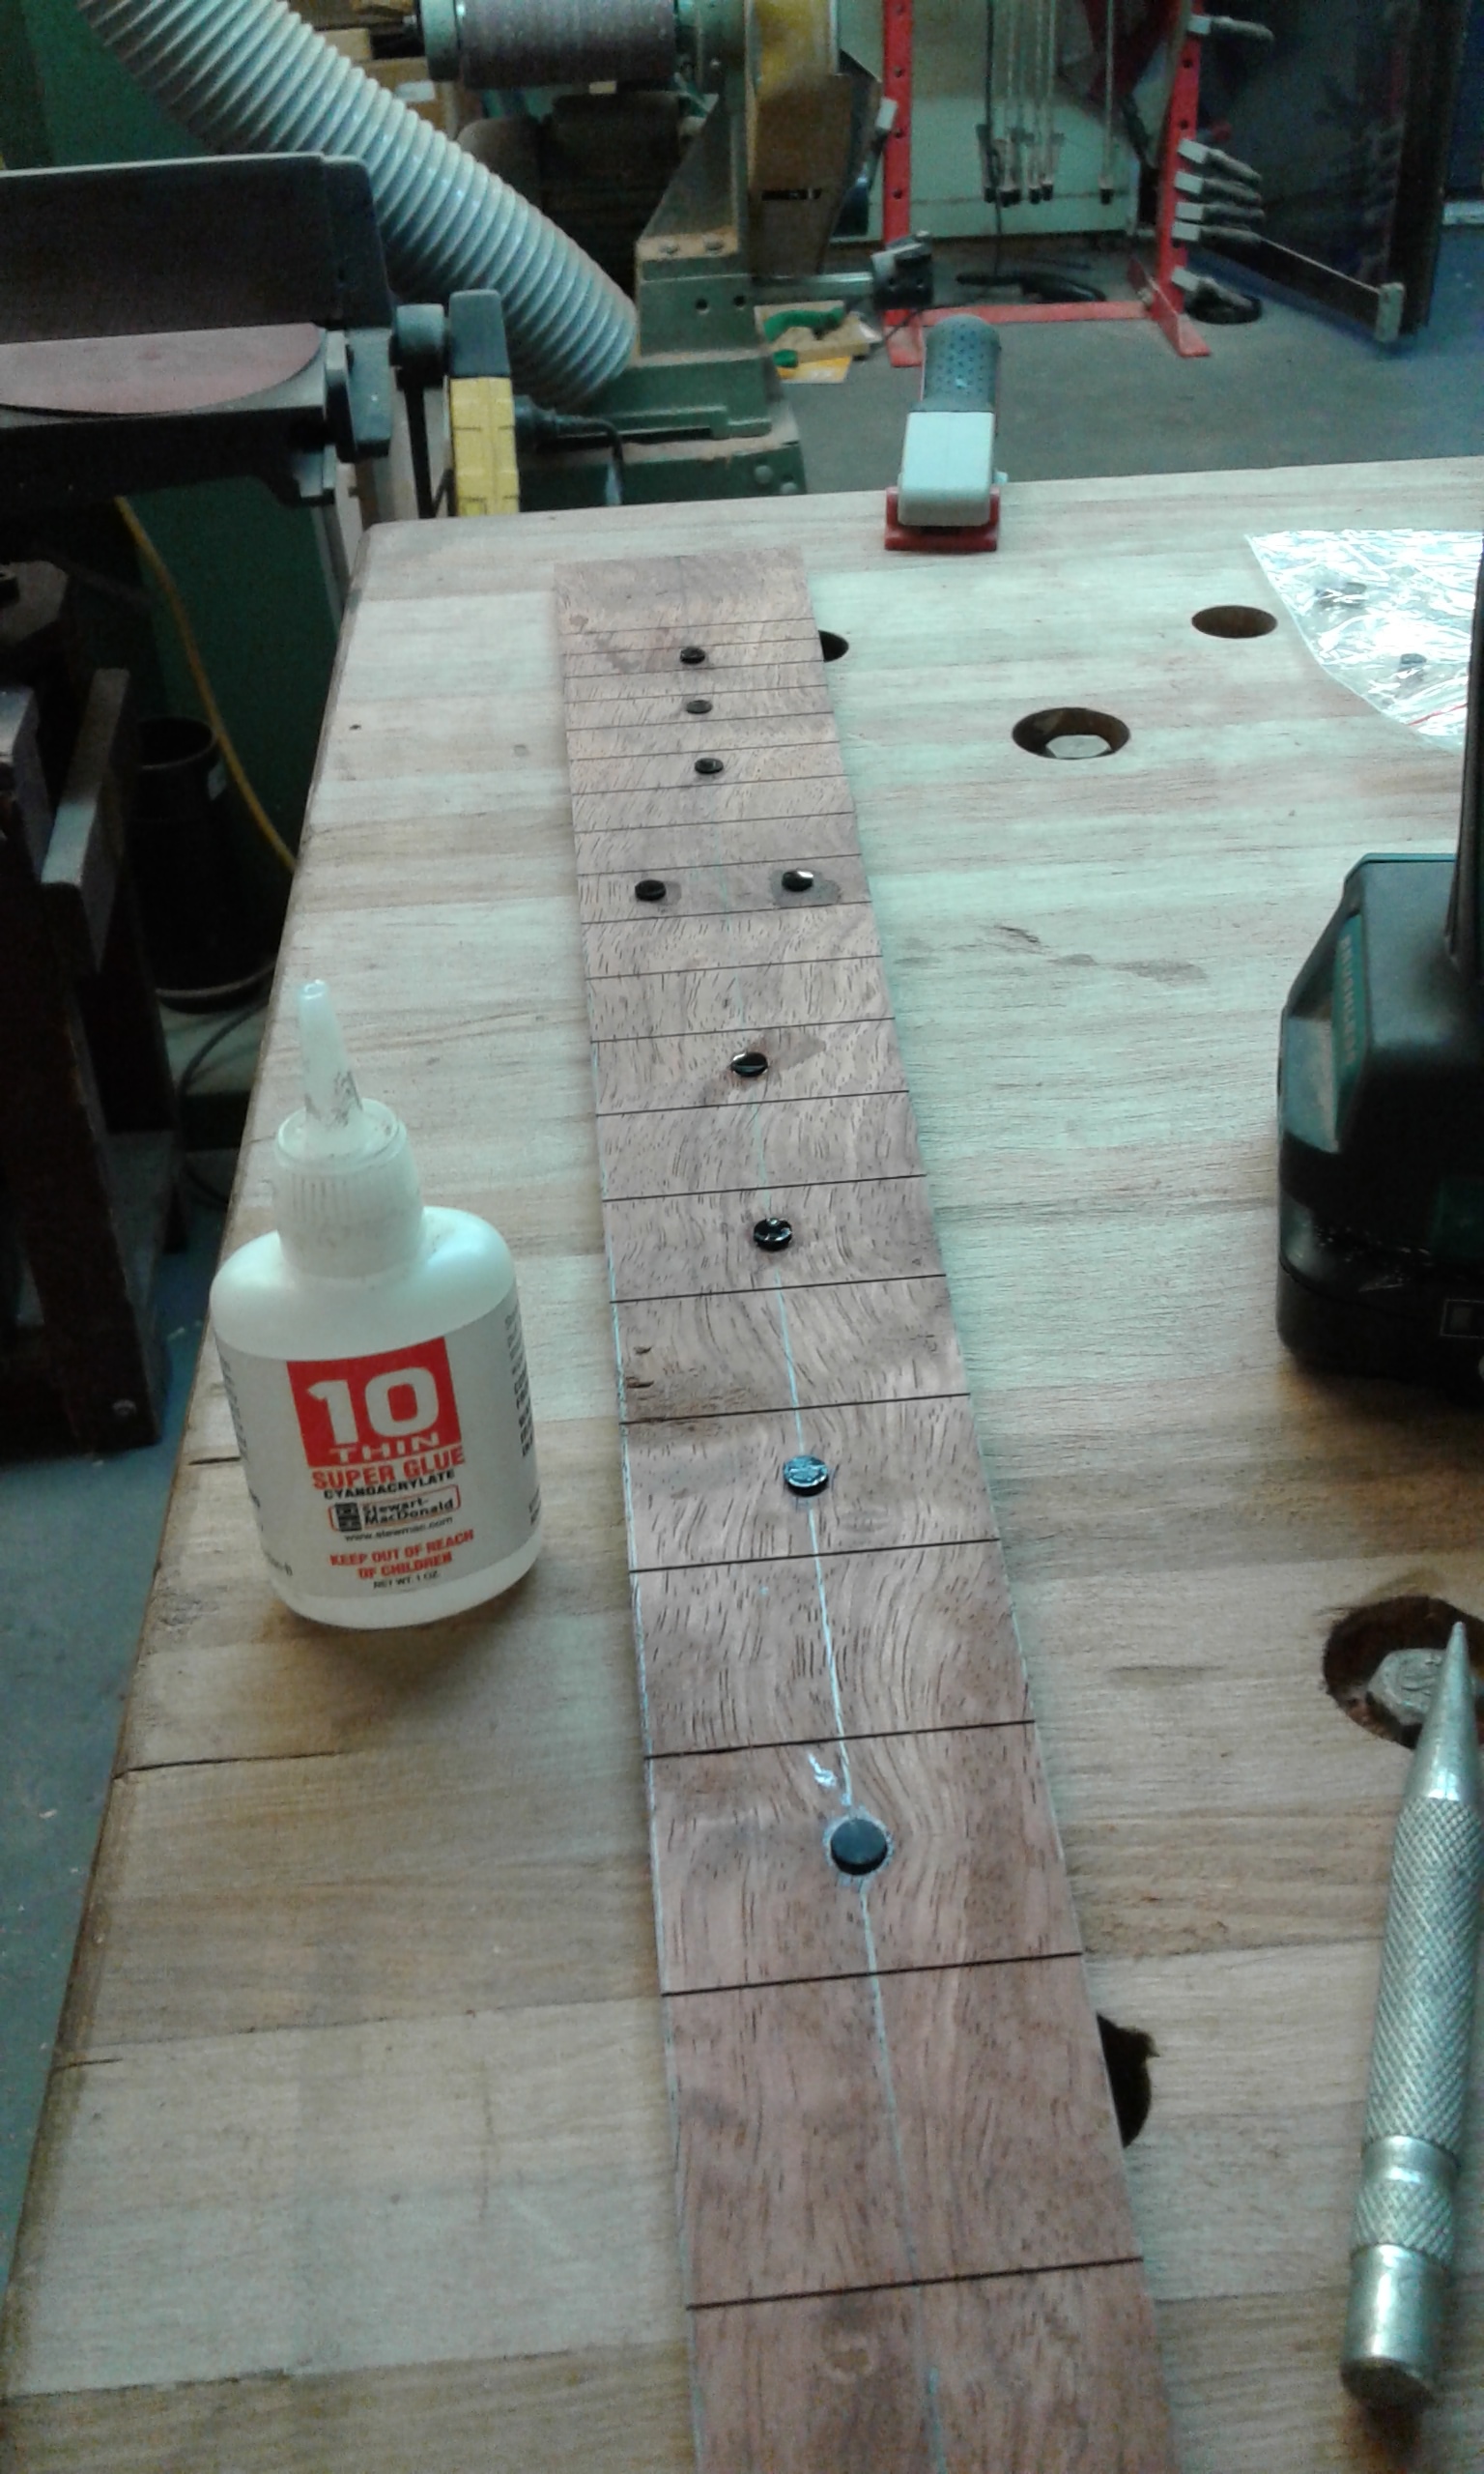
Tonight, I spend a long time sanding the sides. It could be done later, but is easier while the two halves are separate. Now that I’m not power mad by pushing wood into a hot metal pipe, I can see areas where I spent too long making a particular bend. Most of it sands out, so i’m not worried. Besides, according to Keanu Reeves in ‘The Replacements’, “Chicks dig scars”. At some point during this process we talk about how I’m not actually Human, but merely a conglomerate of pop-culture references. We glue the sides together using two blocks that Trevor prepared, and the session is rounded off by drilling some holes in the Fretboard and gluing into position the fret-dots. I’ve chosen black against the lighter Bubinga wood, and I’m happy with how it looks.
Session Eight
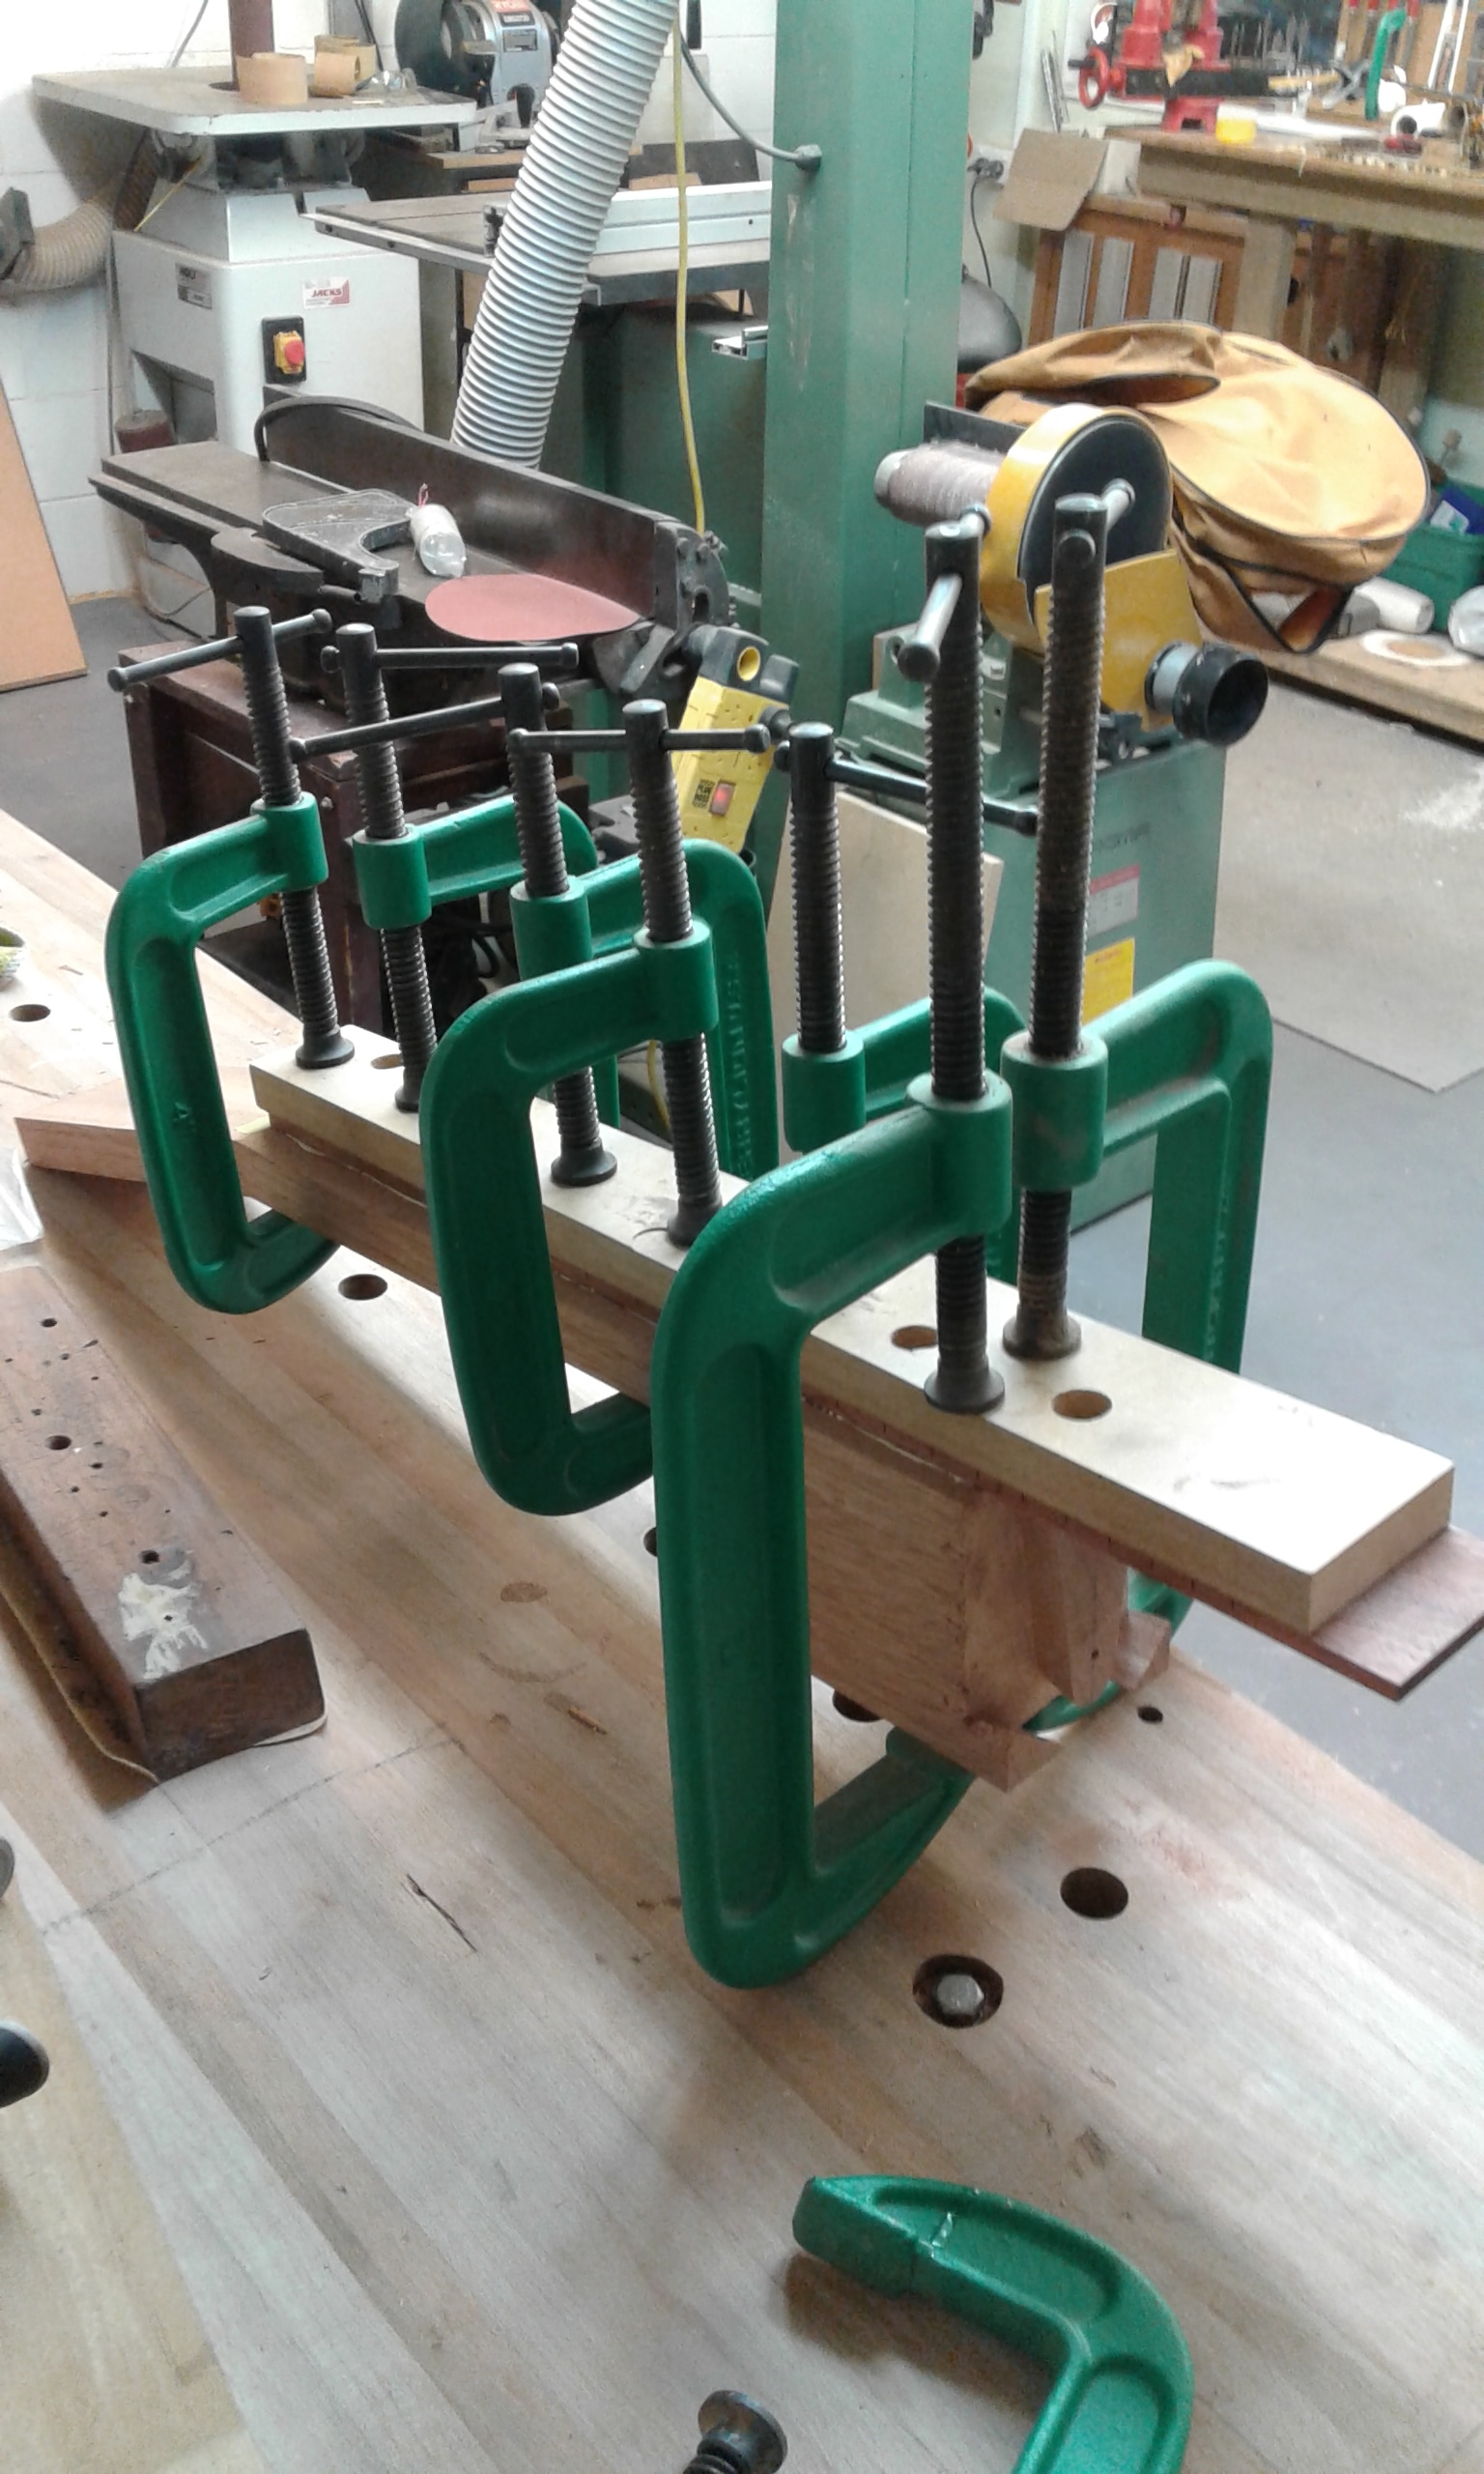
Using the ‘dished’ sandpaper from earlier in the blog, we sand the edges of the body, now one piece. This will mean they meet the dished Front and Back properly when it’s all put together. Imagine you have two levers, and as you pull one in, you push the other out. That’s what I’m doing, effectively rotating the sides at the ends. It makes my hips creak and belly jiggle; I’ve never felt more like a washing machine. Trevor calls this ‘doing the dishes’, and as an honorary Dad (eight niblings), I chuckle. To end the month, we put the Neck into a jig, route a dovetail joint in the end and glue the Fretboard to the Neck. Eventually the dovetail will be where the Neck meets the Body, but it’s easier to cut now. And now I may want to buy a router, also.
